


The box is open, the touchscreen finally feels less foreign — and then month one arrives: too many buttons, a sour first shot, a friend saying “just dial it in,” and a quiet fear that you already ruined the machine. A guided espresso machine for first 30 days only helps when you treat the prompts as a curriculum — which guided steps to trust first, when to graduate into taste-led tweaks, and which beginner mistakes burn the month — not as another unboxing checklist.
This Meraki guide is that first-30-days onboarding curriculum: prepare the station, run a week-by-week plan, keep targets boring, fix month-one mistakes, taste with one variable at a time, rehearse a reusable practice week, and know when to stop tweaking. It is not a rewrite of Meraki’s 30-minute unboxing walkthrough, capsule-to-craft first week, beginner brewing guide, or beginner buyer pages. Use those for their jobs; use this page when the open question is how to spend the first month on a guided home system without thrashing every setting.
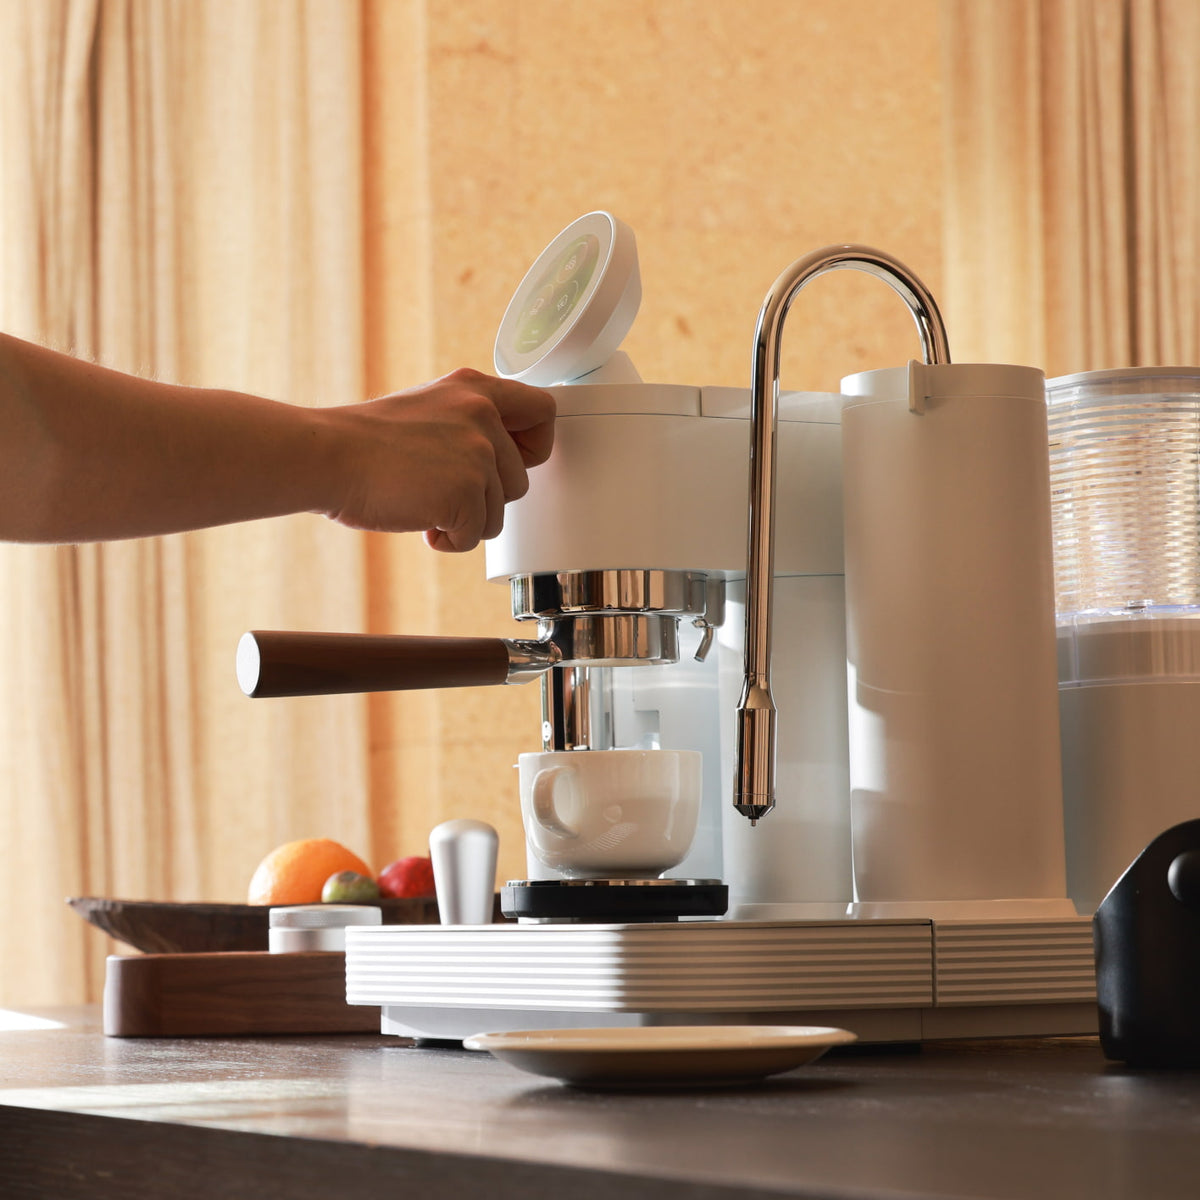
Month one is a curriculum: follow guided prompts early, then graduate to taste-led tweaks — not thirty days of random button tapping.
What “guided espresso machine for first 30 days” really means for home buyers
“Guided espresso machine for first 30 days” in search often lands on beginner buying roundups, entry-level under-$700 setups, or “best machine for learning” listicles. For a home buyer who already chose a guided system — or is about to — the phrase means something narrower: a month-long learning plan that tells you which on-screen prompts and measured defaults to follow first, how to leave autopilot without chaos, and which mistakes waste beans in weeks two through four.
Guided, here, means a machine that walks you through a home café sequence with prompts and measured stops — on Meraki’s current product framing: an intuitive touchscreen, the integrated path Grind → Dose → Brew → Steam, built-in dual scales that weigh dose and yield, and auto-stop at your target yield. Meraki’s FAQ also frames the machine as beginner-friendly with a guided touchscreen and built-in scales. That is workflow guidance, not a promise that espresso physics vanished.
Treat the keyword as onboarding curriculum. Gift-check pages own pre-purchase diligence. Unboxing pages own the first half hour. Capsule-to-craft pages own week-one culture shock. This page owns the rest of month one.
Who this page is for (and who should skip it)
This page is for absolute beginners and careful new owners who want a first 30 days plan on a guided home espresso system — not another “what to buy” essay.
Skip packaging / first-half-hour setup — 30-minute unboxing walkthrough. Skip capsule culture shock for week one only — From Capsules to Craft. Skip a brewing encyclopedia — How to Make Espresso at Home. Skip shopping angles — what to look for and all-in-one with grinder. Skip gift diligence — what to check first. Skip CoffeeSense / NFC feature explainers — CoffeeSense NFC bean recognition; this curriculum may mention NFC prompts lightly, not rewrite them. Come here when the question is: how should my first month on a guided espresso machine actually go?
Why this is a 30-day onboarding curriculum (not unboxing or first-week only)
SERP for this query leans toward buyer guides and “best beginner machine” lists. Meraki’s own library already covers unboxing, first-week capsule transitions, and beginner shopping. What stays thin is a week-by-week curriculum that keeps guided prompts in charge early, then graduates you into taste-led single tweaks without turning day twelve into a lab.
The unique job here is that onboarding curriculum: which prompts to follow first, how weeks two through four differ, how to taste and change only one variable, which month-one mistakes to refuse, and when “good enough” becomes the point. Disclosure: Meraki publishes this guide and sells the Meraki Espresso Machine. Live product story (2026-10-26 snapshot + homepage): guided touchscreen, dual boilers (warm-up about 3–4 minutes per FAQ), commercial rotary pump framed at steady 9 bar, true burr grinder co-developed with TIMEMORE® that grinds onto the built-in scale, dual scales 1 kg · ±0.2 g, auto-stop at target yield, and CoffeeSense™ NFC as an optional suggested-parameters path on compatible Meraki bags (FAQ). Meraki examples illustrate one verified guided path — not a universal syllabus for every brand’s UI.
Tools and settings to prepare first
Month one fails when the kitchen is half-ready and the curriculum starts mid-chaos. Before Day 1 of this plan, finish physical setup using the 30-minute unboxing walkthrough: water, beans in the hopper (or a clear single-dose habit), clean portafilter and basket, tamp/distribution tools you will actually use, milk pitcher if you drink milk drinks, and a place to knock spent pucks.
Write three sticky notes and leave them on the machine for thirty days: (1) one weekday drink, (2) one bean bag, (3) “change one thing only.” On Meraki’s framing, dual boilers heat in about 3–4 minutes — confirm warm-up language on the live product page — so stage tools during warm-up instead of grinding into a cold group. If you bought Meraki NFC bags, know where the NFC area is; treat CoffeeSense as an optional Week-1–2 starter for suggested grind and extraction parameters (FAQ: How do I use CoffeeSense™?), not as a requirement to begin the curriculum.
Category literacy from the Specialty Coffee Association and CoffeeGeek’s guides beats any viral “master espresso in three days” checklist. Fresh beans and honest weighing matter more than owning every accessory on day one.
Step-by-step workflow: your first 30 days on a guided espresso machine
The weekday win in month one is a boring sequence you can finish before work — not a new theory every morning. Use this week-by-week curriculum.
Week 1 (Days 1–7) — Follow guided prompts; lock one drink
- Warm fully, then open the guided path. Do not skip ready lights. Meraki’s FAQ lists warm-up around 3–4 minutes; re-check your unit.
- Pick one drink for the week. Straight espresso or one milk drink — not both as experiments. Café-style menu options on Meraki’s guided framing include espresso, latte, cappuccino, flat white, and americano; choose one and stop shopping for a “better” first drink.
- Accept the guided / default dose and yield targets. Compatible Meraki NFC bags can load suggested grind and extraction parameters via CoffeeSense™, then you tap to start and dual scales stop at quantity (FAQ). No NFC bag? Stay on guided defaults — do not invent a second recipe mid-week.
- Run Grind → Dose → Brew → Steam in the same order. Distribute and tamp the weighed puck the same way each morning. Taste once; write one word (sour / bitter / thin / sweet / fine).
- Refuse grind tourism. Do not walk the dial “just to see.” Week 1 owns completion of the guided loop, not art.
Goal by Day 7: two weekday mornings where you finish a drink without narrating every screen, and the dose scale / yield stop feel familiar.
Week 2 (Days 8–14) — Trust the scales; build taste words
Keep the same bean and the same drink. Now the curriculum is measurement honesty: tare/zero, grind-by-weight (grind-to-scale) until dose lands, brew-by-weight auto-stop at the sticky yield, and a three-line note (date · target hit? · one taste word). Meraki dual scales are specified at 1 kg · ±0.2 g — honesty, not a license to chase hundredths before you can name sour vs bitter. Yield depth lives on the brew-by-weight complete guide; here you only practice trusting the stop. Optional curiosity shot only after breakfast — never instead of it — and leave sticky targets alone.
Week 3 (Days 15–21) — Graduate: one taste-led tweak at a time
This is the graduation week. Guided prompts stay the starting lane; taste becomes the steering wheel. Keep dose and yield locked unless the bag changed. If the cup is wrong, change grind only (finer for sour-fast; coarser for harsh-slow) — one small step, then wait two drinks. Brewing literacy from NCA and SCA research still applies: extraction is dose, grind, yield, time, and prep together. Add a second drink style only after the first is boringly good. If CoffeeSense suggestions feel off after storage or age, override from taste — see CoffeeSense NFC recognition for mechanics, not this page.
Week 4 (Days 22–30) — Own the weekday ritual; stop performing
Run the guided path at guest pace. Prep during warm-up. Trust auto-stop. Taste once. Change grind only when the cup clearly drifts — not because a forum said “always fine-tune on day 25.” Practice a new-bag protocol once before you need it: purge a little, reconfirm dose lands, re-taste, then adjust grind — leave dose sticky until the bag truly forces a change. Full dial-in triangles live on Meraki’s dose and yield guide; month four of ownership can go deeper. Month one ends when the ritual is quieter than your anxiety.
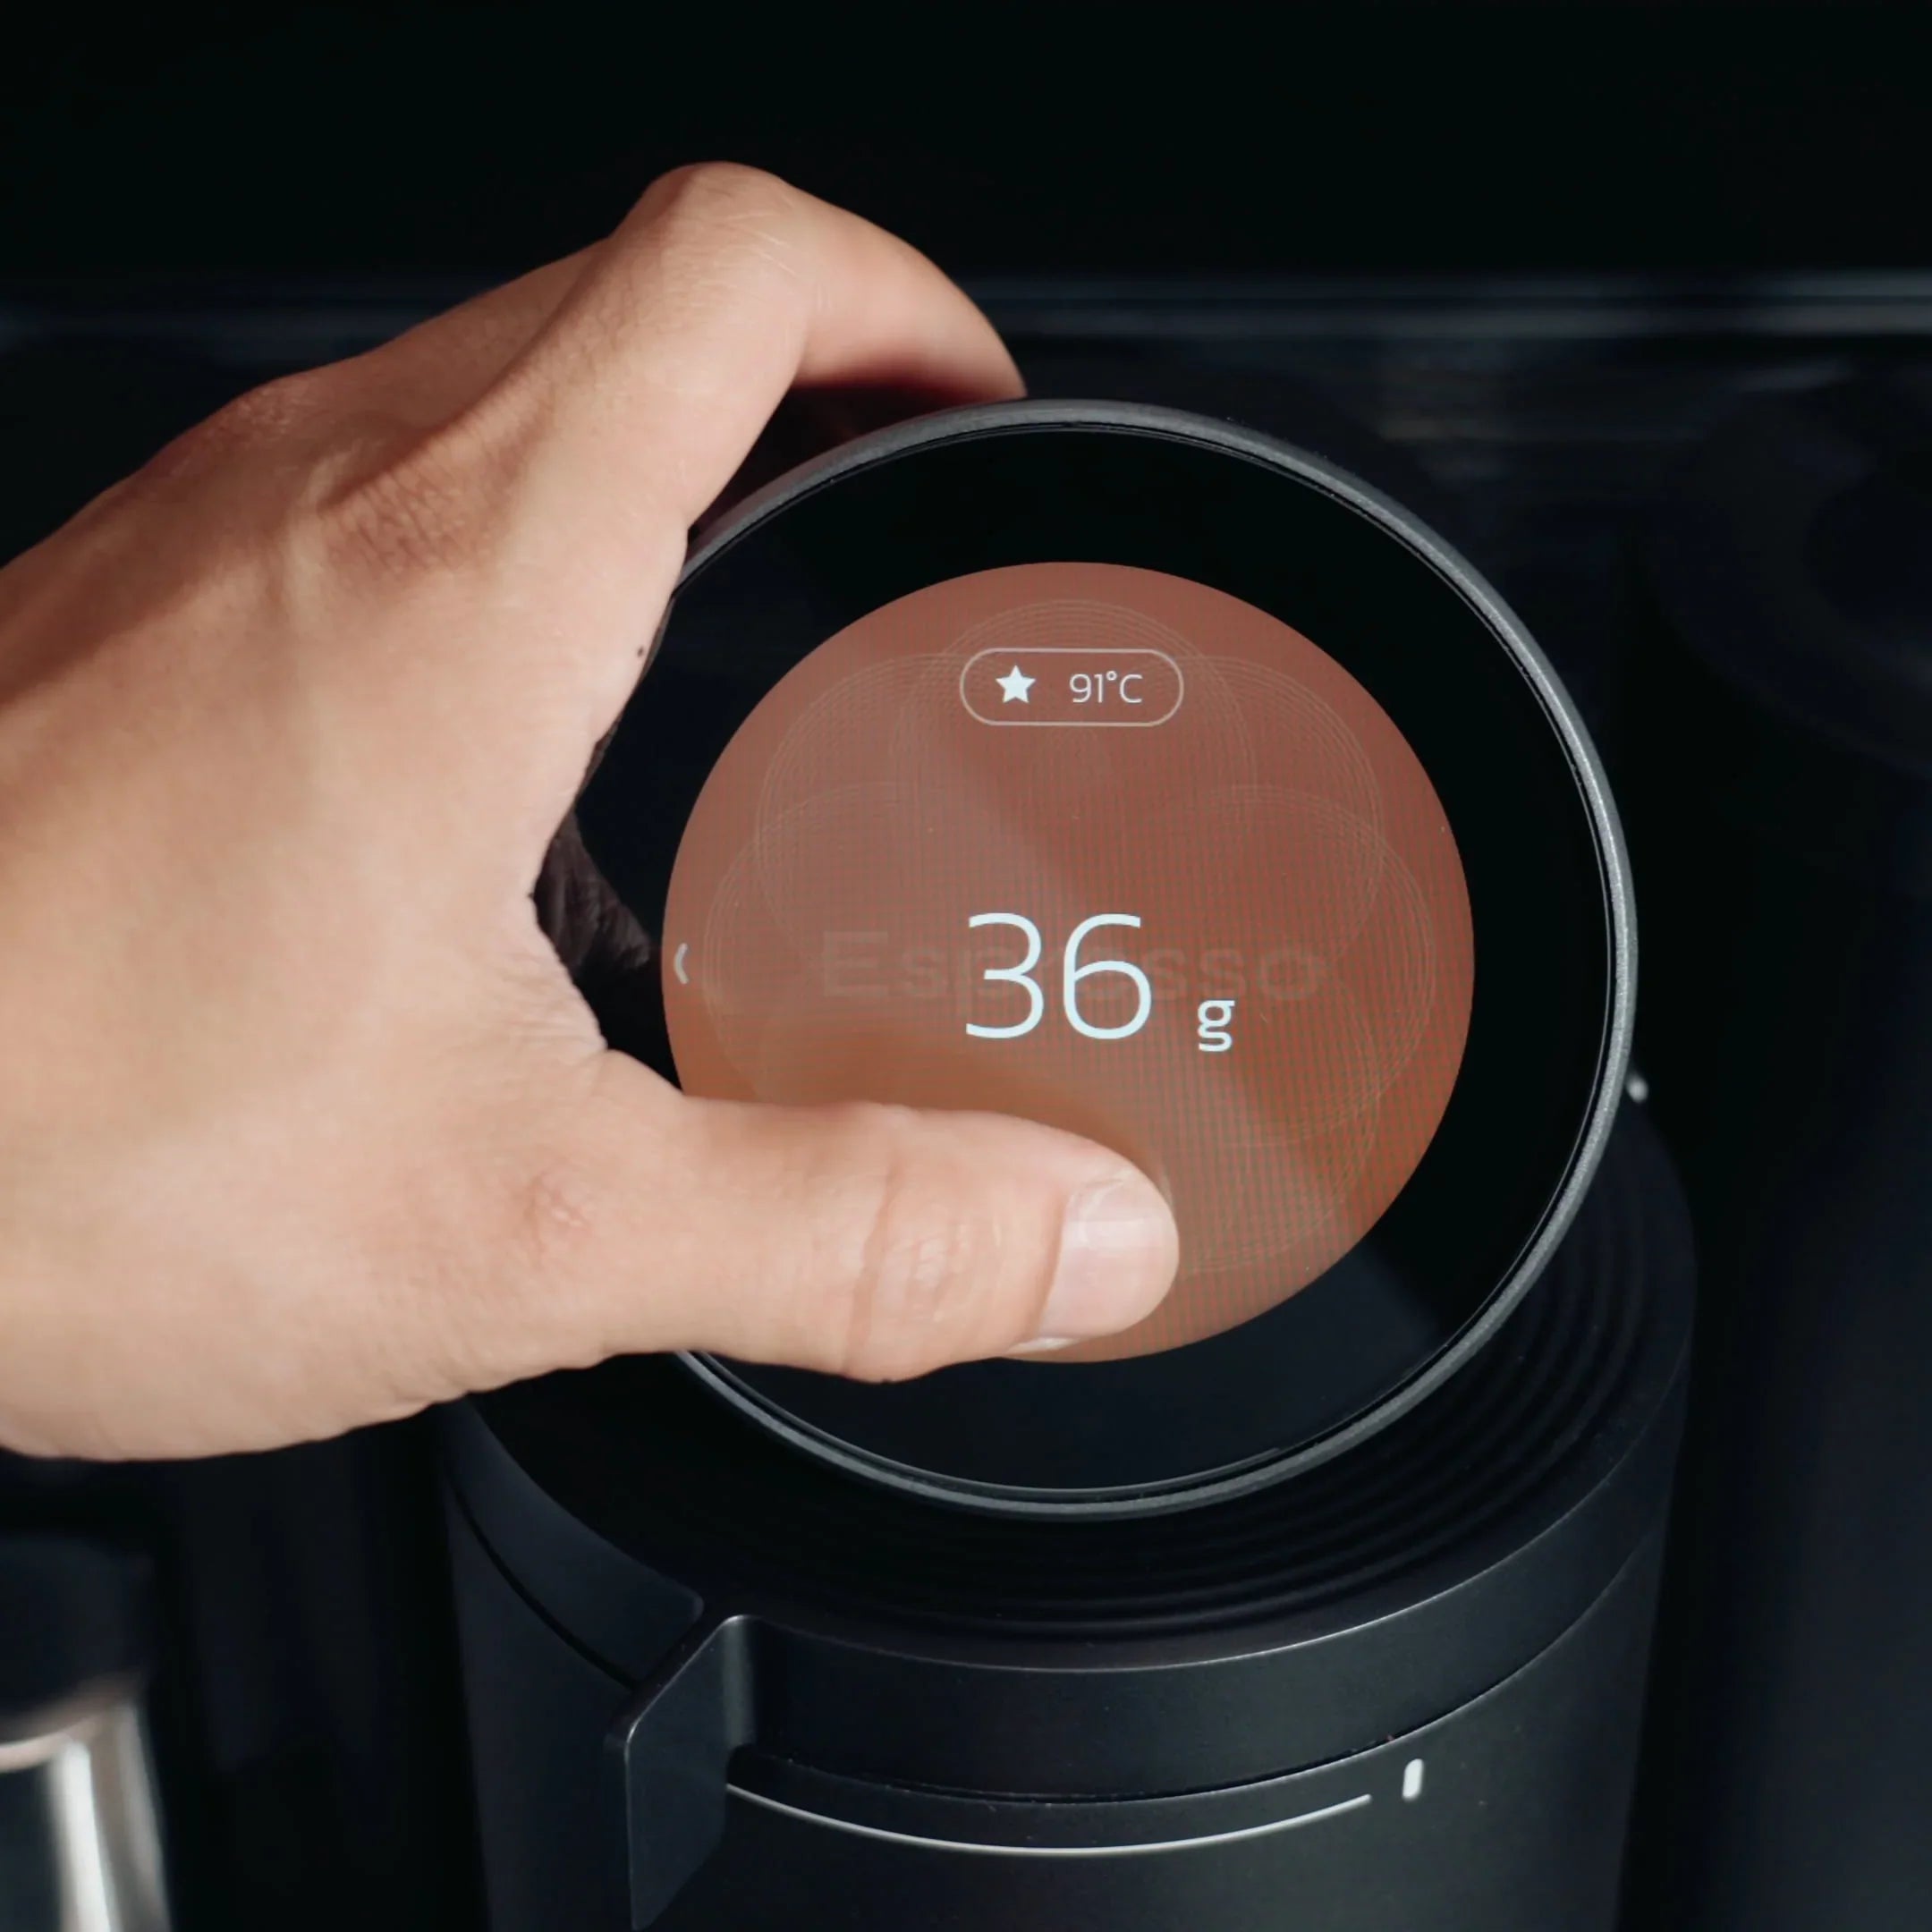
Guided month one: accept the measured stop early, then graduate to taste — not thirty days of rewriting targets before breakfast.
Targets and ranges that keep you out of rabbit holes
Targets exist so the curriculum has a spine. Prefer one weekday dose, one yield, one drink, and ranges — not invented laboratory precision.
Many homes start near a familiar ~1:2 brew-ratio habit (for example ~18 g in → ~36 g out) while they learn guided consistency — café-culture baseline, not a law. Meraki’s guided café framing also uses drink-balance starts such as latte ~1:3 and cappuccino / flat white ~1:2 on current brand framing; treat them as menu language and confirm on the live product page. Extraction time is a traffic light (mid-twenties into low thirties of seconds is a common home band), not a commandment. Dual boilers + rotary pressure framed at steady 9 bar are not knobs to reinvent in week one. Scales to ±0.2 g keep dose and yield honest — NIST is a reminder that a scale is only as honest as the zero you give it.
Month-one “follow vs graduate” decision table
| Moment | Follow guided / sticky defaults | Taste-led tweak (one variable) |
|---|---|---|
| Days 1–7 | Always — finish the loop | Not yet (notes only) |
| Days 8–14 | Dose + yield sticky | Notes; optional post-breakfast curiosity shot |
| Days 15–21 | Keep dose/yield unless bag changes | Grind first if cup is wrong |
| Days 22–30 | Weekday ritual stays sticky | Grind only when drift is clear |
| New Meraki NFC bag | May load suggestions, then taste | Override suggestion if cup disagrees |
| Channeling / blond jet | Do not rewrite dose mid-shot | Fix distribution/tamp next shot |
Common mistakes and quick fixes
Most “guided machines feel inconsistent in month one” complaints are curriculum errors, not broken hardware.
| Mistake | What you feel | Quick fix |
|---|---|---|
| Rewriting targets every morning | No baseline; “the machine is random” | Sticky-note one dose + yield for seven days |
| Skipping warm-up | Thin first shot; blame the UI | Wait for ready; prep tools during 3–4 min warm-up |
| Changing grind and dose together | No idea what worked | Freeze dose/yield; change grind only (Week 3 rule) |
| NFC / guided suggestion as law | Good Day 2, harsh Day 9 | Treat suggestions as starts; taste overrides |
| Milk-drink experiments daily | Never learn espresso base | One drink for Week 1–2 |
| Forum dial-in before Week 2 habits | Anxiety + wasted beans | Finish scale trust first; deep dial-in later |
| Confusing 30-day curriculum with 30-day trial panic | Rushing every setting before return window | Curriculum is learning pace; trial terms live on refund policy — do not thrash the machine to “use” the trial |
If the cup still disagrees after dose and yield are honest, jump to Meraki’s deeper dose and yield method — do not invent a second month-one curriculum here.
How to taste and decide what to change next
On a guided first month, taste answers two questions in order: Did the guided / measured targets land? and Is the cup wrong in a nameable way? Missed dose or yield → fix tare, cup seating, and basket prep before grind. Targets landed but cup wrong → name it once: sour-fast usually wants finer; harsh-slow usually wants coarser; muddy with “perfect” grams often wants distribution — guidance cannot level an uneven puck. Under milk, ask whether espresso still tastes like coffee once diluted. After Week 2, change one variable per tasting block — usually grind — and keep a three-line note. Category context appears in places like Barista Magazine; still judge your cup.
A one-week practice or habit plan
Reuse this seven-day loop inside any week of the curriculum when habits wobble. Keep the same beans and drink.
- Day 1 — Guided completion. Warm fully; run the sequence once; one taste word; no dial tourism.
- Day 2 — Scale honesty. Tare before dose and brew; confirm grind-by-weight and yield auto-stop without “bonus taps.”
- Day 3 — Same hands. Identical distribution/tamp; two procedurally identical drinks.
- Day 4 — Taste vocabulary. No setting changes; force three words: body, acidity, finish.
- Day 5 — One allowed tweak (Days 15–30 only). Wrong cup → change grind once. Weeks 1–2 → notes only.
- Day 6 — Guest pace. No screen narration; sticky targets stay.
- Day 7 — Reset. Clear basket path and scales; refuse “one more experiment” when the cup was fine.
Do not skip warm-up to “save power” and blame the UI for a cold first shot — home espresso energy is usually modest next to beans (energy.gov).
When to stop tweaking and just drink
Stop tweaking when the guided weekday loop is automatic, dose and yield land without drama, and further changes would only serve curiosity. A guided espresso machine for first 30 days is a learning scaffold, not homework to visit every menu item before Day 30. One roast for weeks? Protect sticky targets. Rotate often? Train fast reconfirmation after each change, not a museum of recipes. Unboxing and first-week pages wait for opening-day stories; shopping pages wait for the next buyer. Your job at Day 30 is a quiet cup you trust — not a perfect lab notebook.
FAQ
Do I have to use CoffeeSense™ to follow this 30-day plan? No. CoffeeSense™ is an optional NFC path: swipe a compatible Meraki bean bag for suggested grinding and extraction parameters, tap to start, and let dual scales stop at quantity (FAQ). The curriculum works on guided touchscreen defaults and measured dose/yield without NFC. Use CoffeeSense when you have compatible bags and want a shorter first guess — not as a gate to Week 1.
What should I follow first on a guided espresso machine? Warm-up → one drink → guided Grind → Dose → Brew → Steam (or your machine’s equivalent) → accept sticky dose/yield → same hand prep → taste once. Deep dial-in and multi-drink menus wait until Weeks 3–4. Physical unboxing still belongs to the 30-minute walkthrough.
When should I stop following prompts and dial by taste? After Weeks 1–2, when scale habits are boring. From Day 15, change one variable (usually grind) when the cup is clearly wrong. Keep following guided structure for sequence and measurement; graduate the recipe numbers only when taste demands it.
Is the first 30 days the same as Meraki’s 30-day home trial? They share a calendar length, not the same job. This page is a learning curriculum. Meraki’s 30-day home trial / refund terms are a purchase policy — read the live refund policy. Do not thrash every setting to “use up” a trial; calm repetition teaches faster than panic experimentation.
What if I came from capsules — does this replace the first-week guide? No. Capsule culture shock and week-one expectations belong to From Capsules to Craft. This page extends past that into a full month: measurement trust, graduation to taste-led tweaks, and month-one mistake control.
If your goal is a calm first month on a guided home espresso system, run the week-by-week curriculum above — and confirm today’s Meraki guided touchscreen, dual boilers (~3–4 minutes warm-up), rotary pump (steady 9 bar), TIMEMORE® co-developed grind-to-scale path, dual scales (1 kg · ±0.2 g), target-yield auto-stop, and CoffeeSense™ FAQ wording on the Meraki Espresso Machine product page when you want the guided all-in-one path. Support: Meraki Support (+1 833 854 9555, Mon–Fri 9 AM–5 PM EST).


