


You already own (or are about to own) a milk temperature sensor or Auto Temp Stop — yet weekday lattes still feel like babysitting: you stare at the pitcher, abort early “just in case,” then scorch the next cup because you waited for a prettier whirlpool. An espresso machine with milk temperature sensor workflow only sticks when preferred-temperature stop, stretch/roll technique, and a boring override rule beat hovering.
This Meraki guide owns daily workflow with a milk temperature sensor / Auto Temp Stop — using the stop without babysitting, locking latte vs cappuccino habits (not inventing factory setpoints), comparing sensor stop vs hand stretch, knowing when to override, and practicing for one week. It is not a rewrite of Meraki’s thin milk temperature sensor feature page, app-controlled milk temperature, too-hot diagnostics, dual-boiler temperature control, how to steam and texture milk, or milk thermometers. Complementary powerful steam wand technique covers scorch risk under strong steam; this page covers trusting the sensor stop once technique is already moving.
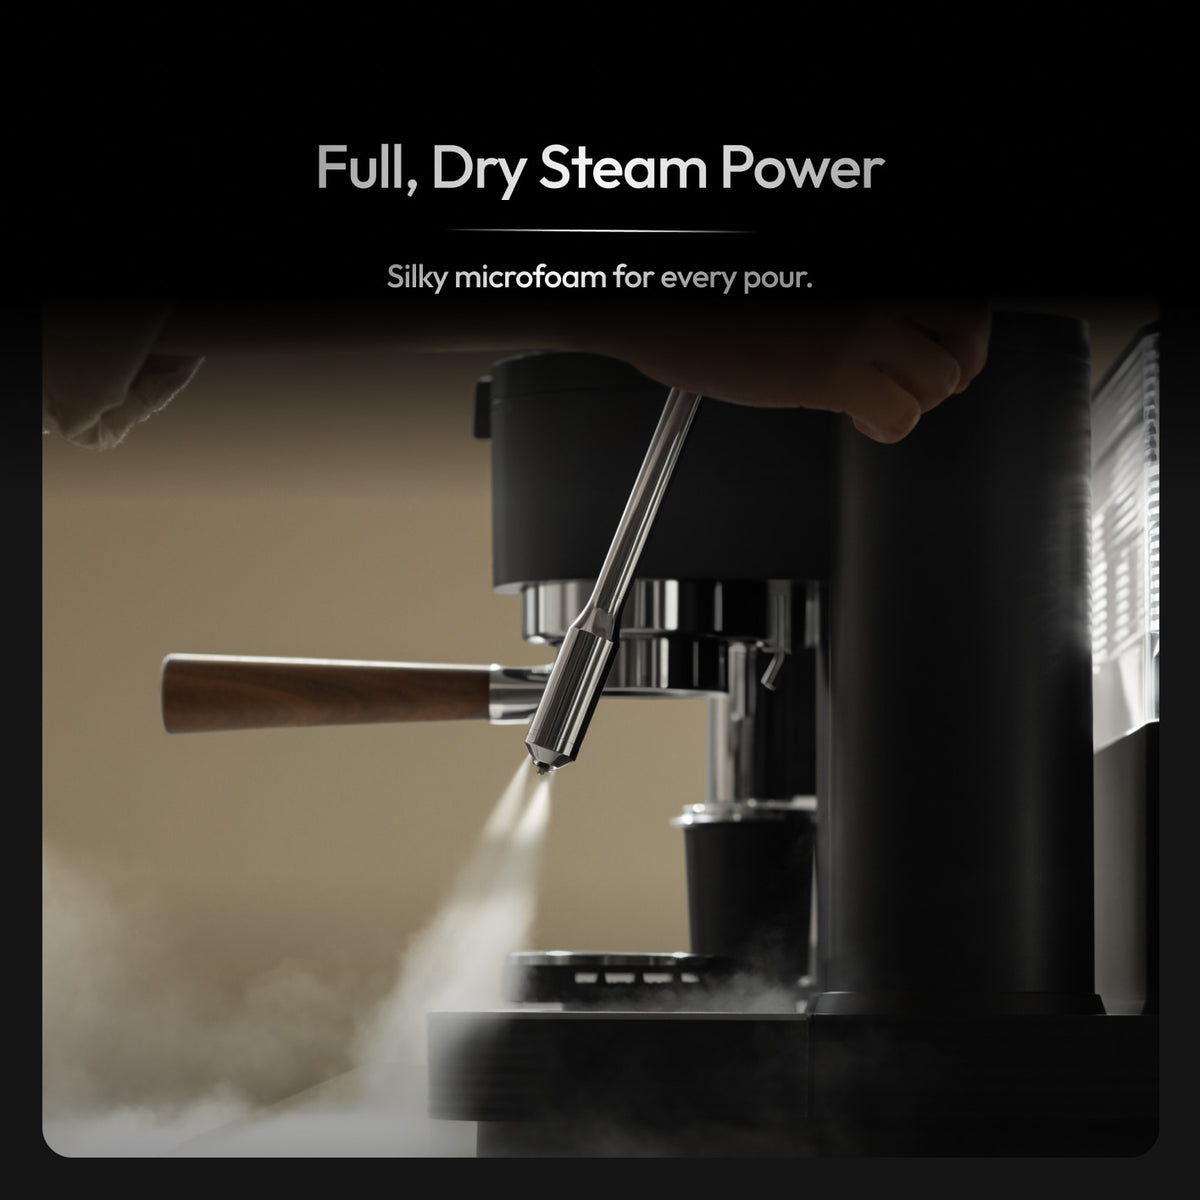
Auto Temp Stop is a stop cue — stretch and roll still belong to your hand; the weekday win is trusting the stop without hovering.
What “espresso machine with milk temperature sensor workflow” really means for home buyers
“Espresso machine with milk temperature sensor workflow” in search often lands on feature blurbs, “machines with milk sensors” shopping lists, thermometer product pages, or app-setting screenshots. For a home buyer it means something narrower: a repeatable weekday steaming ritual on a machine that can stop (or cue stop) at a preferred milk temperature — so the first flat white matches the second without staring the pitcher into overheat.
A milk temperature sensor reads milk heat during steaming. Auto Temp Stop (Meraki’s live product framing: Powerful Dry Steam. Auto Temp Stop — silky milk at your preferred temperature) is the habit layer: you texture as usual, then let the stop end the steam at the preference you set or confirm on your unit. The sensor does not stretch foam for you. Stretch and whirlpool stay technique; temperature stop is the endpoint.
Treat the keyword as habit design first. Meraki’s milk temperature sensor page owns what a sensor is. Milk thermometers owns clip-on literacy. This page owns the sensor-stop weekday workflow that makes those tools boring in a good way.
Who this page is for (and who should skip it)
This page is for milk-drink makers whose machine already has (or will have) milk-temperature sensing / Auto Temp Stop and need the morning steam sequence to stick — not another “what is a sensor” essay.
Skip sensor literacy — milk temperature sensor. Skip app-reproduced steam settings — app-controlled milk temperature. Skip first stretch/texture — how to steam and texture milk. Skip clip-on thermometers — milk thermometers. Skip always-too-hot diagnosis — steaming milk too hot. Skip dual-boiler shopping — brew and steam temperature control. Skip powerful-wand scorch safety — complementary powerful steam wand technique. Come here when the question is: how do I use Auto Temp Stop without babysitting every latte?
Why this is workflow depth (not a milk-sensor feature page)
SERP for this query is messy — steamer roundups, YouTube workflow clips, and feature pages that name a sensor without teaching Tuesday habits. Meraki’s published milk temperature sensor guide already owns the concept. Editorial how-tos that install sensor-stop habits are thinner.
The unique job here is workflow depth: stage cold milk and a matched pitcher, confirm preferred temperature on your machine, stretch then roll, let Auto Temp Stop finish without hovering, override only with a named reason, practice seven days, then stop tweaking. Disclosure: Meraki publishes this guide and sells the Meraki Espresso Machine. Live product story (2026-10-26 snapshot): dual boilers that brew and steam at once, powerful dry steam with Auto Temp Stop toward a preferred milk temperature, and a milk sensor in the measured path with grind and brew scales. Meraki examples illustrate one verified path — we will not invent Meraki °C/°F factory defaults, tip-hole counts, or steam PSI the live product page does not state.
Tools and settings to prepare first
Sensor-stop habits fail when the station is half-asleep. While dual boilers warm (Meraki FAQ framing: about 3–4 minutes — re-check the live product page), stage a dry pitcher sized for today’s drink, cold fridge milk, a damp wand cloth, cups, and a sticky note with one weekday milk preference (plus a second line only if latte and cappuccino truly need different stops on your machine).
Auto Temp Stop cannot rescue a brim-full pitcher under strong steam or a thimble of milk that hits heat before texture appears. Meraki’s gift framing includes a 14 oz milk pitcher with the current upgrader kit — a practical home starting size; use the pitcher-size guide when volume changes. Fill to a familiar weekday line with stretch room.
Purge before and after every drink, wipe immediately, and follow steam wand hygiene. Keep cold milk cold until steaming (FDA safe food handling; CDC food-safety prevention). SCA and CoffeeGeek beat any tip that skips a clean tip. Confirm Auto Temp Stop behavior on your screen and manual — do not paste forum degrees into Meraki settings.
Step-by-step workflow: milk temperature sensor / Auto Temp Stop on a weekday
The weekday win is texture plus a trusted stop. Use this order until it feels boring.
- Warm fully, then purge. Wait for steam-side ready. Clear condensed water into the drip tray — wet steam makes big bubbles before texture starts.
- Choose pitcher and fill for this drink. One small latte wants a modest fill with stretch room — not a half-empty café pitcher under a strong tip.
- Confirm preferred temperature / Auto Temp Stop. Verify today’s sticky-note preference. Do not invent a new number because the bag “smells different” before you taste a stopped pitcher.
- Seat the tip just under the surface, slightly off-center. Soft stretch sound — not a scream. Too deep buries stretch; too shallow sprays.
- Stretch briefly, then drop into the roll. When volume rises and the sound softens, submerge slightly so the milk spins. Texture is your job; the sensor watches heat, not foam quality.
- Let Auto Temp Stop finish — hands off. Abort only for spray, volcano, or an empty pitcher — not because the whirlpool “looked unfinished.” Babysitting recreates hand-feel chaos with a sensor attached.
- Override only with a named reason. Valid: spray risk, milk climbing the spout, sensor unavailable, or a pre-written tasting experiment. Invalid: “foam needed two more seconds,” “guest likes it hotter.”
- Wipe, purge, settle, pour. Wipe immediately, purge again, tap/swirl, pour. Latte art waits until stop trust is automatic.
- Thirty-second reset. Empty leftover milk (do not reheat), rinse, clear the cloth.
Keep brew+steam overlap inside your dual-boiler weekday choreography — do not invent a second simultaneous-brew essay here. Powerful-wand scorch safety stays on the complementary technique page.
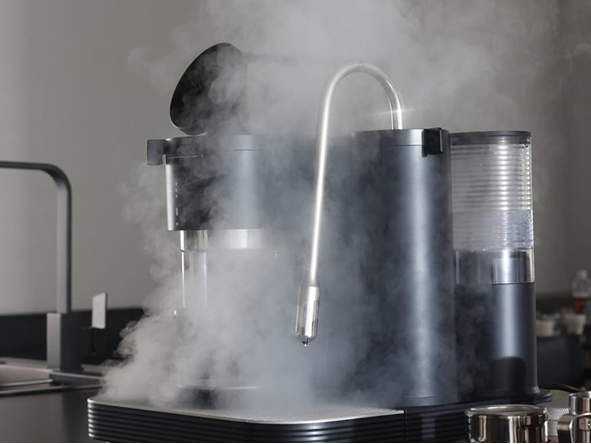
Silky milk at a preferred temperature is the product framing — the habit is stretch → roll → trust the stop, not stare-and-guess.
Targets and ranges that keep you out of rabbit holes
Targets exist so breakfast does not become a lab. Prefer one weekday milk drink, one fill line, and one preferred-temperature habit on your machine — not invented Meraki setpoints.
We will not publish a Meraki factory °C/°F default table. Live copy emphasizes Auto Temp Stop toward a preferred milk temperature and a milk sensor in the measured path — confirm how that preference is set on your unit and the product page. Café culture and brewing literacy (NCA brewing basics; SCA research) often treat roughly the mid-50s to mid-60s °C band as a common sweet-milk neighborhood — a habit band when choosing a preference, not a claim Meraki ships a universal number. Cooler drinks can taste thin; much hotter milk often tastes cooked. Lock your preference for the practice week.
Meraki’s café menu framing lists latte about 1:3, cappuccino about 1:2, and flat white about 1:2 with microfoam — menu language, not physics. Texture is the variable you practice; temperature stop is the constant you trust.
Sensor stop vs hand stretch (decision table)
| Situation | Safer default | Risk if ignored |
|---|---|---|
| Auto Temp Stop available | Stretch/roll as usual; let stop finish | Hovering recreates hand-feel chaos |
| Learning week | Same fill line + same preference | No baseline; every drink is a new experiment |
| Latte vs cappuccino same morning | Two sticky preferences only if you truly need them | Inventing a third “guest heat” daily |
| Hand stretch after stop fires | Stop means stop — polish by swirl, not more steam | Reheating scalds sweet milk |
| Sensor off / unavailable | Fall back to hand cues + thermometer literacy | Blind steam until cooked aroma |
| Always too hot despite stop | Diagnose elsewhere — do not rewrite setpoints mid-week | Chasing degrees while texture is the real fault |
For clip-on thermometer technique and “always too hot” causes, link out — do not rebuild those pages here.
Common mistakes and quick fixes
Most “the sensor doesn’t feel consistent” complaints are habit errors, not broken thermistors.
| Mistake | What you feel | Quick fix |
|---|---|---|
| Hovering / aborting early | “Same setting,” different cups | Hands off until stop; override only with a named reason |
| Changing preferred temp every morning | No baseline to taste against | Sticky-note one (or two) preferences for seven days |
| Stretching after the stop | Scorched smell on “perfect” foam | Stop means stop; swirl to gloss |
| Skipping purge | Watery first second; odd foam | Purge before and after every drink |
| Skipping wipe | Clogged tip; sour smell next round | Wipe immediately; follow hygiene guide |
| Tiny milk volume under strong steam | Stop fires before texture exists | Match fill to drink; see pitcher guide |
| Blaming the sensor for dry foam | Hat-like foam, sweet heat | Shorten stretch; sensor never textured for you |
| Reheating leftover milk | Flat, sweetless cup | Fresh cold milk only |
| Always scorched after “correct” stop | Cooked taste despite trust | Too-hot diagnostics — different page |
If steam truly lacks power after purge and ready lights, leave this workflow page — weak-wand diagnosis lives elsewhere.
How to taste and decide what to change next
On a sensor-stop habit week, taste answers one question first: did the stop land sweetly? Scorched milk smells cooked even when foam looks glossy. Big dry foam usually means stretch ran too long — temperature was never the villain. Thin, cool drinks with honest stop trust may want a slightly higher preference later — after the week, not mid-pour.
Change one variable once the sequence is automatic: stretch length, tip depth, fill line, or preferred temperature — not all four. Wrong espresso under good milk → fix grind/dose/yield on brewing hubs, not longer steam. Lukewarm overall drink with fine milk → simultaneous brew/steam timing, not hotter invented defaults.
Three-line note: date, stop trusted? (Y/N), one taste word. Barista Magazine covers measured home paths; still judge your pitcher.
A one-week practice or habit plan
A week installs sensor-stop muscle memory without turning coffee into homework. Keep the same beans, the same drink, and the same pitcher fill line.
- Day 1 — Trust only. Purge → short stretch → roll → hands-off Auto Temp Stop → wipe/purge. Ignore latte art. Goal: one morning without early aborts.
- Day 2 — Same fill line. Identical milk volume and the same preference. Goal: two mornings without spray or volcano.
- Day 3 — Override drill (once). Abort one steam for a named reason (for example spray risk), write it down, then return to auto stop.
- Day 4 — Latte vs cappuccino habit (optional). If you make both drinks, use two sticky preferences once — do not invent a third. Texture differs; stop trust stays.
- Day 5 — Guest pace. Make the drink without narrating the sensor. Keep wipe/purge sacred.
- Day 6–7 — Lock and lighten. Keep the same sequence. Cut “just two more seconds of stretch after the stop.” Optional: one calm pour practice after stop trust is already boring.
Do not skip warm-up and blame Auto Temp Stop for watery first steam — home espresso energy use is usually modest next to beans (energy.gov).
When to stop tweaking and just drink
Stop tweaking when purge is automatic, stretch is short, Auto Temp Stop finishes without your finger on the valve, and further preference changes would only serve curiosity. A milk sensor is a habit tool, not homework every degree.
Protect the fill line and preferred stop; re-check when pitcher size, milk type, or drink style changes. Sensor literacy → milk temperature sensor. Clip-on technique → milk thermometers. Always too hot despite trust → too-hot diagnostics.
Is 40 seconds too long for espresso?
It depends on dose, yield, and taste — not a universal red line.
Many homes treat roughly the mid-twenties into the low thirties of seconds as a timing band; chat shorthand sometimes panics at “40 seconds.” Time is a traffic light while dose and yield stay fixed. A sweet cup near ~40 seconds at your locked recipe can be fine; a harsh cup at “perfect” thirty is still a problem. Fix grind and puck prep on dial-in hubs — do not turn this milk-sensor workflow into a PID or flow-control essay. Under milk, if the shot is the villain, change the shot, not Auto Temp Stop.
Can you steam milk with an espresso machine?
Yes — with a steam wand (or the machine’s milk system), not with brew water alone.
Café-style home espresso usually means: purge, texture cold milk in a pitcher, stop at preferred heat, wipe, pour. Meraki’s path is powerful dry steam with Auto Temp Stop toward preferred milk temperature, plus dual boilers so brew and steam can overlap — confirm on the product page. First stretch literacy stays on how to steam and texture milk; this page is for sensor-stop workflow.
FAQ
Does Auto Temp Stop replace stretch and roll technique? No. Auto Temp Stop ends steam at a preferred milk temperature; it does not create microfoam for you. Stretch briefly, find the whirlpool, then trust the stop. Meraki’s product framing pairs powerful dry steam with Auto Temp Stop for silky milk at your preferred temperature — technique still owns texture. Use the first steam tutorial for stretch literacy; use this page for stop habits.
Should latte and cappuccino use different temperature preferences? Only if your palate and foam goals need them — and only as locked habits, not daily inventions. Many homes keep one weekday preference and change texture (thinner microfoam vs thicker foam) instead. Meraki’s menu ratios (latte ~1:3, cappuccino/flat white ~1:2 on current framing) describe drink balance, not a second temperature encyclopedia. Confirm how preferences are stored on your unit.
When should I override Auto Temp Stop? Override when something is clearly wrong before or as the stop fires: spray, overflow risk, an unavailable sensor, or a deliberate experiment you planned. Do not override because foam looked unfinished or a guest mumbled “hotter.” Write the reason once; return to the sticky preference tomorrow.
Do I still need hand cues if my machine has a milk temperature sensor? Yes as backup literacy. Sensors fail, get ignored, or sit unused on travel days; hand-on-pitcher cues and thermometer pages keep you safe. Treat Auto Temp Stop as the weekday default and hand cues as the spare tire — not as competing religions.
Is this the same as Meraki’s milk temperature sensor feature guide? No. That machine-guides page owns concept and feature framing. This espresso-brewing how-to owns daily Auto Temp Stop / sensor-stop workflow habits. App-reproduced steam settings, too-hot diagnosis, dual-boiler temperature shopping, first steam tutorials, and thermometer literacy stay on their own URLs.
If your goal is calm milk drinks on an espresso machine with a milk temperature sensor, run the stage → confirm preference → stretch/roll → hands-off Auto Temp Stop → wipe/purge loop above — and confirm today’s Meraki powerful dry steam, Auto Temp Stop, dual boilers, and milk-sensor framing on the Meraki Espresso Machine product page when you want the guided all-in-one path. Support: Meraki Support (+1 833 854 9555, Mon–Fri 9 AM–5 PM EST).


