


Implementation path: weigh the dose → grind on a burr setting in the espresso band → distribute and tamp evenly → pull to a time/yield window → taste → move grind one notch. The failure scene most home baristas hit first is a blond, fast shot that tastes sour—almost always grind too coarse or channeling, not a “broken” boiler.
This how-to owns grind coffee beans for espresso specifically. It is not a full encyclopedia of French press and cold brew grinds. Related hubs: espresso brewing, espresso machine with grinder.
What “grind coffee beans” means for espresso (direct answer)
It means crushing beans into a fine, even particle band suited to short, pressurized extraction.
Espresso is less forgiving than drip: mixed dust and boulders channel, so burrs beat blades.
You dial by taste and time, not by a universal printed number on every grinder. Literacy: NCA, SCA.
Gear checklist: machine, burr grinder, scale
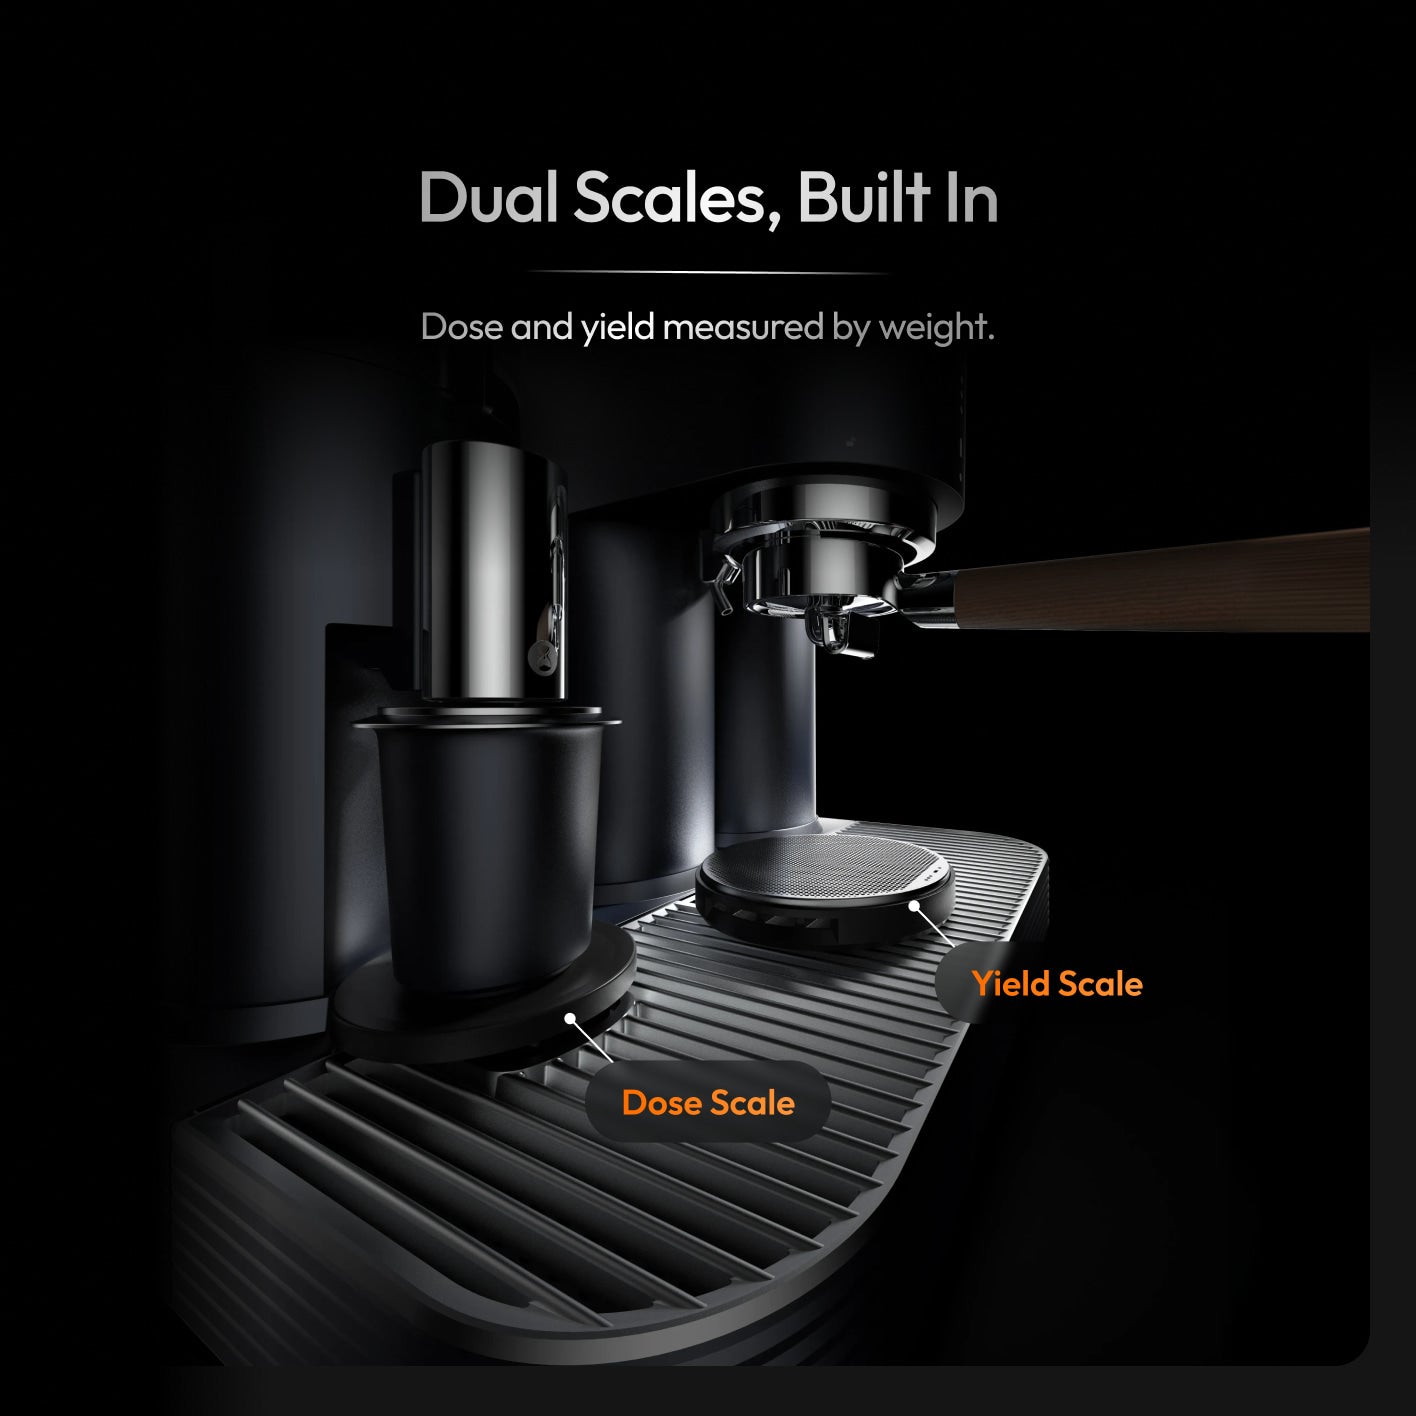
You need a machine that can hold espresso pressure, a burr grinder with fine adjustment, a scale for dose (and ideally yield), a portafilter basket that matches your dose, and a simple distributor or WDT tool if channeling persists. A steam wand is optional for this grind lesson but useful for milk drinks afterward. Accessories live in the accessories collection. Education: SCA education.
Step-by-step dial-in with ratios and timing
1) Pick a starting dose (many home doubles sit near 16–20 g—match your basket). 2) Grind into the portafilter or dosing cup. 3) Distribute, tamp level. 4) Aim for a yield around 1:2 (for example 18 g in → ~36 g out) in roughly 25–30 seconds as a classic starting window—adjust to taste. 5) If the shot finishes much faster and tastes thin/sour, grind finer. 6) If it crawls or chokes and tastes harsh/bitter, grind coarser. 7) Change one variable per shot. Water still matters: CDC water quality.
Texture and taste checkpoints
Good espresso grounds feel like fine table salt to powdery fine—not dusty flour clumps and not raw sugar crystals. In the cup, look for balanced sweetness, manageable bitterness, and a finish that matches the roast. Sensory vocabulary: Coffee Review. Caffeine tracks dose and brew more than grind myths alone—NCA caffeine, Harvard caffeine.
Common failures and fixes
Too fine / choke: back off grind, check for clumps or over-tamp. Too coarse / spray: finer grind, check dose is not too low. Channeling (jetting, tiger striping chaos): improve distribution, WDT, level tamp; do not only blame temperature. Stale hopper leftovers: purge or empty when switching beans. Blade grinders: replace the tool rather than “spin longer.”
Dairy vs oat adjustments
Milk drinks hide some sharpness but do not fix a wildly underextracted shot. Oat and other plant milks can mute acidity differently than dairy; still dial the espresso so the shot tastes intentional black before you steam. Habit context: Harvard on coffee, Coffee & Health.
How Meraki dual-boiler and built-in grind help
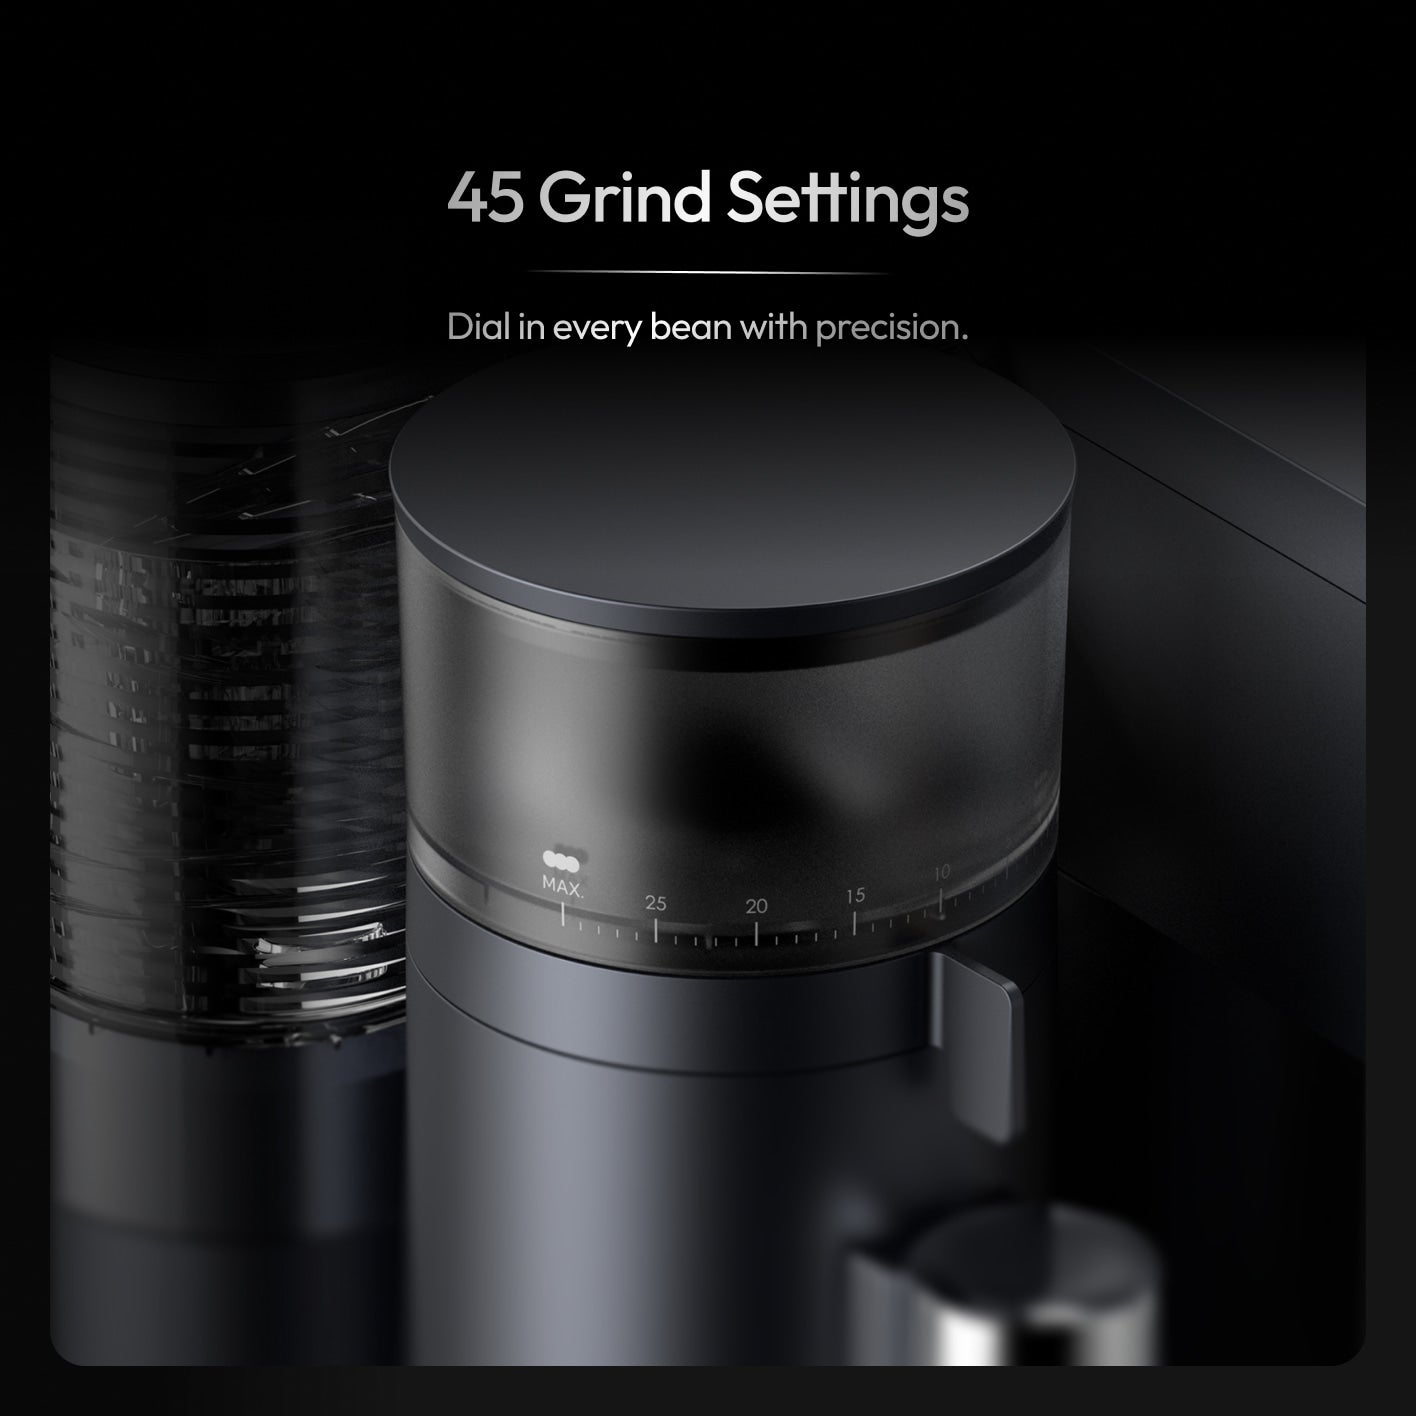
On the Meraki espresso machine, the TIMEMORE co-developed burr grinder can auto-dose onto built-in scales while dual boilers keep brew and steam ready. That shortens the feedback loop: grind by weight, pull, taste, nudge the setting. It does not remove the need to dial when beans change. Guided workflows help beginners avoid skipping weigh steps.
Cleanup and next-shot readiness
Brush the chute, purge a gram when switching beans, wipe the portafilter, and empty the drip tray. Retention is yesterday’s flavor hiding in the throat of the grinder. Keep beans in the beans collection rotation fresh enough that you are not dialing around staleness. More technique posts: espresso brewing.
Parameters table
| Parameter | Home starting point | If off, try |
|---|---|---|
| Dose | Match basket (often ~16–20 g) | Change only after grind is close |
| Yield | ~1:2 by weight as a classic start | Shorter for intensity; longer for gentler cups |
| Time window | ~25–30 s classic reference | Finer if fast; coarser if choking |
| Grind tool | Burr, espresso-capable | Not blade |
| Change rule | One variable per shot | Log what you changed |
Burr vs blade (locked for espresso)
Blade grinders chop by impact time. Longer spins make more dust, not a calibrated espresso band. Burr grinders set a gap. That single mechanical difference is why espresso tutorials that soft-pedal blades set beginners up to fail. If your only tool tonight is a blade unit, brew a coarser immersion method instead of forcing a nine-bar shot—then plan a burr purchase.
Pre-ground espresso bags are the honest emergency path: better than inventing blender hacks that heat and smear oils. Still, sealed pre-ground stales faster after opening. Dialing lives on fresh burr grinding.
Built-in retention note: after flavored or very oily beans, run a short purge and brush before a delicate light roast. Next-shot readiness is part of grinding skill, not an afterthought. Keep a small brush with your portafilter so the habit sticks.
If channeling persists after grind changes, look at distribution before you blame the boiler. Clumps, tilted tamps, and low doses create fast lanes for water. A needle tool or simple distributor often saves more beans than another temperature experiment.
Dial-in log you can copy
Create a simple note on your phone: date, bean, dose (g), grind step, yield (g), time (s), taste (one sentence). After five shots you will see whether you are chasing humidity or changing too many variables. This beats memorizing someone else’s TikTok grind number for a different basket.
Humidity and rest days after roast shift grind needs. A bag that ran 28 seconds yesterday may run 24 seconds today without a machine fault. Move finer in small steps. If you overshoot into a choke, open coarser and redistribute—do not hammer the tamp harder as a fake fix.
Dairy vs oat reminder again: steam after the espresso tastes intentional black. Plant milks can round edges; they cannot invent extraction that never happened. Keep pitchers clean so yesterday’s film does not flavor today’s microfoam.
When you are ready for a measured built-in loop, the Meraki espresso machine doses onto scales inside a dual-boiler workflow—still requiring the same taste honesty this how-to teaches.
Practice plan for the first kilo of beans
Dedicate the first kilogram of a new espresso bean to learning, not to perfection theater. Pull doubles, spit-cup tastes when needed, and change only grind for the first ten shots. Then allow dose changes of half a gram. Then yield. That order prevents the chaos of changing everything while blaming the machine.
Keep water consistent during the plan. If you switch from bottled soft water to hard tap mid-bag, you will misread grind. Filter pitchers help some homes; descaling still matters. Link taste notes to grind steps in writing so next month’s you remembers.
When the plan finishes, you should know your basket’s happy dose range and whether this bean wants a slightly higher brew ratio. That knowledge transfers to built-in grinders and separate grinders alike. Continue technique threads in espresso brewing.
Conclusion
Grind espresso on burrs, weigh your dose, chase a sensible time/yield window, and fix channeling with distribution—not with random temperature panic. Built-in grinders work when you treat dial-in as seriously as a separate unit.
Practice weighed grinding on the Meraki espresso machine, then keep exploring technique in espresso brewing.
FAQ
How fine should espresso grind be?
Fine enough that a classic double lands near a 25–30 second extraction at your dose and yield targets without choking the machine or spraying pale liquid. Start near your grinder’s espresso mark, then move one small step at a time based on time and taste.
Can I use a blade grinder for espresso?
Not as a reliable method. Blade grinders create dust and boulders together, which channel under espresso pressure. Use a burr grinder—standalone or built-in—when espresso is the goal.
How do I dial in without wasting beans?
Change one variable at a time, keep dose and yield notes, and adjust grind in small steps. Taste after each change. Avoid changing dose, grind, and temperature in the same shot.
Can I grind espresso without a grinder?
Only as an emergency compromise (pre-ground espresso bags). Fresh burr grinding is the durable path; no-grinder hacks are not a training plan.
Does a built-in grinder work for espresso?
Yes when it offers espresso-fine adjustment and consistent burrs. Clean the chute, watch retention when switching beans, and dial by time and taste just as you would with a separate grinder.


