


Latte Art.
Your first pour
belongs here.
A wobbly heart is a place to start. Save a photo today, then add your next attempt to see what changes.
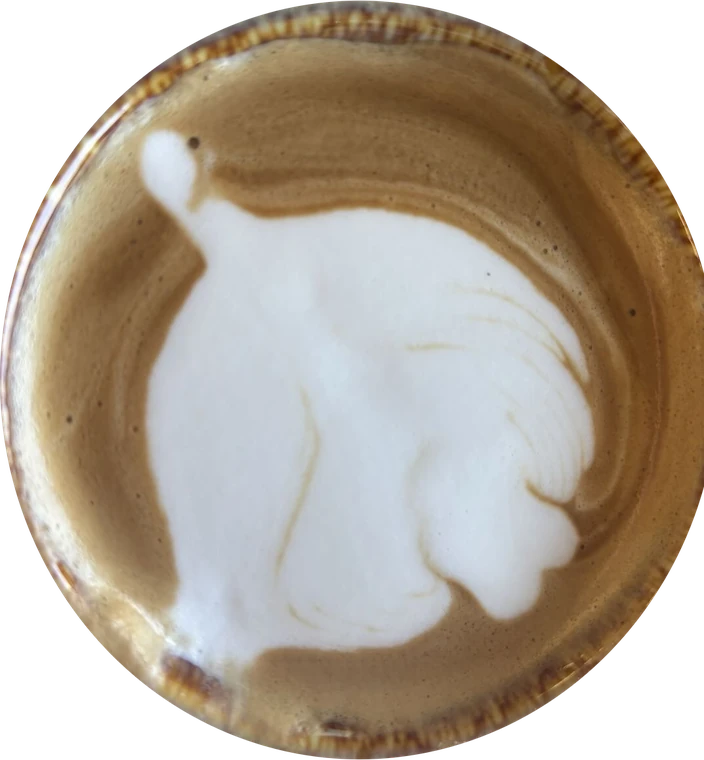
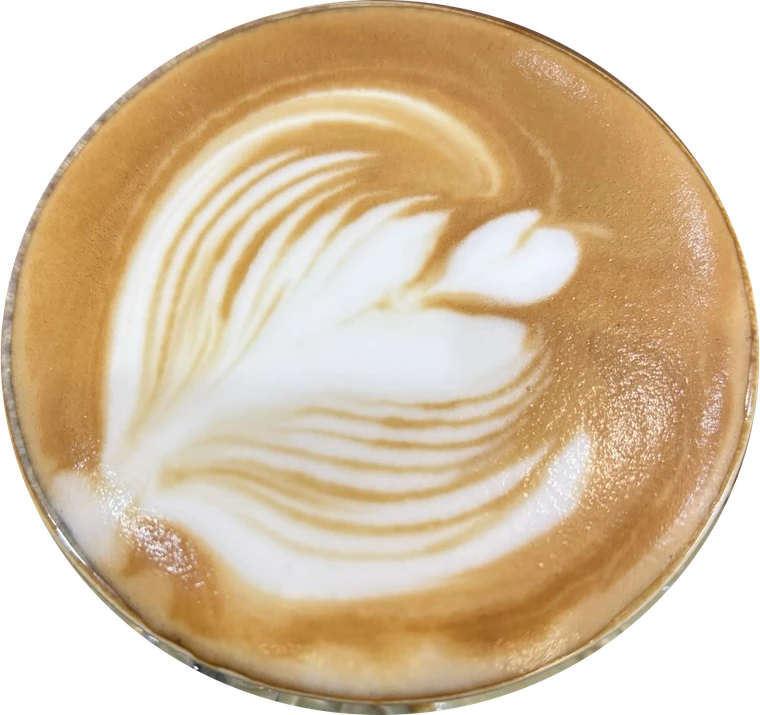
Latte Art Gallery.
Find your next small focus.
Look at the outline, the spaces between layers, and the finish. Choose one thing to notice in your next cup.
Nine real pours, ordered by visible pattern definition—not a dated practice timeline. Only the backgrounds were removed.
Look closer. What changes from cup to cup?
Tap a cup for a closer look and an observation ↗Explore a possible next stepAI-edited reference, based on original photo 8
My Latte Art
Practice Journal.
Keep your first cup. Next time, choose the same journey and add another photo—your first and latest pours will appear together.
Your first cup is worth keeping.
Save one photo and give your practice a name. Add a short note if you like. Come back after your next pour to see the difference.
Your journal stays in this browser. Use the same browser when you return, and keep your original photos as a backup. Nothing is posted publicly.
How to Make Latte Art.
A Simple Practice Guide.
For your next latte art practice, pick one thing to try. A similar cup and camera angle will make your photos easier to compare.
- 01 / PREPARE
Build your canvas.
Start with freshly brewed espresso in a wide cup. Swirl it gently before adding milk.
- 02 / TEXTURE
Keep the milk silky.
Aim for glossy, flowing microfoam with no large bubbles. Swirl the pitcher to keep the texture even.
- 03 / POUR
Start with a heart.
Pour from a little higher to mix, then bring the spout close to the surface. Pour a white circle and lift to draw through it.
What Kind of Milk to Use for Latte Art?
Whole dairy milk is a useful starting point for practicing microfoam. If you prefer plant milk, try a barista-style version designed for steaming. Results vary by milk, so practice with the same one while you learn.
Rosetta Latte Art: How to Pour It
Once you can pour a heart consistently, try small, even side-to-side movements with the spout close to the surface. Move gradually backward to form the leaves, then lift and draw a line through the pattern. Focus on milk texture and steady flow before speed.
Espresso Machine
for Latte Art.
Building your home coffee setup? Explore how the Meraki Espresso Machine brings espresso preparation and milk steaming into your daily routine.