


Field Q: “Why does my foam look like soap bubbles even with a ‘good’ wand?” Key number check: if you pour 10 oz of milk into a 32 oz jug for one small latte, you cannot create a proper whirlpool—geometry fails before technique. Case note: switching from an oversized catering pitcher to a 12–20 oz stainless milk jug often improves texture faster than buying another wand tip.
This guide owns pitcher size, spout, and steel basics. Full steaming steps live in the how-to next door. Related: milk frothing pitcher guide; steaming: how to steam and texture milk.
Who should buy a milk jug for latte art
Anyone steaming milk for lattes, cappuccinos, or flat whites at home and wanting pour control.
Skip specialty spouts if you only heat milk in a microwave mug and never pour art.
Beginners benefit from one well-sized stainless pitcher more than a drawer of novelty colors. Literacy: NCA, SCA.
Must-have specs vs nice-to-haves
Must: food-grade stainless, a spout you can aim, volume marks or a known fill line, and a handle you can hold while the body heats. Nice: mirror polish, welded fancy handles, dual spouts. Coatings that peel are not upgrades. Education: SCA education.
Size chart vs drink recipes
| Pitcher size | Typical milk fill | Fits well |
|---|---|---|
| ~12 oz (350 ml) | ~4–6 oz milk | Cappuccino, small latte, flat white practice |
| ~20 oz (600 ml) | ~6–10 oz milk | Standard lattes, two small drinks |
| ~32 oz (950 ml) | Large batches | Crowds—harder for single-drink microfoam |
Parameter rule: fill only enough milk for the drink plus a little stretch room. Giant air gaps kill rolling foam. Craft: Perfect Daily Grind.
Spout shapes and pour control
Sharp, centered spouts help draw latte art; wide rounded lips prioritize forgiving café au lait pours. If art is the goal, spout geometry is a must-have after milk texture exists. Practice pours with water first to learn wrist height without wasting milk.
Espresso cups pairing (short)
Secondary searches for espresso cups / best espresso cups matter because art needs a canvas. Thick-walled demitasses suit straight shots; wider latte bowls suit patterns. Match cup volume to recipe so you are not floating a heart in an ocean of empty ceramic. Accessories: collection.
Matching pitcher size to steam power
Strong wands heat large milk volumes quickly; weak wands struggle to stretch and swirl big jugs before the milk scalds at the wall. If your wand is modest, stay in the 12 oz class until technique improves. Target finished milk near 140–150°F (60–65°C) for most drinks—details in the steaming guide. Water: CDC; habits: Harvard on coffee.
Where Meraki fits
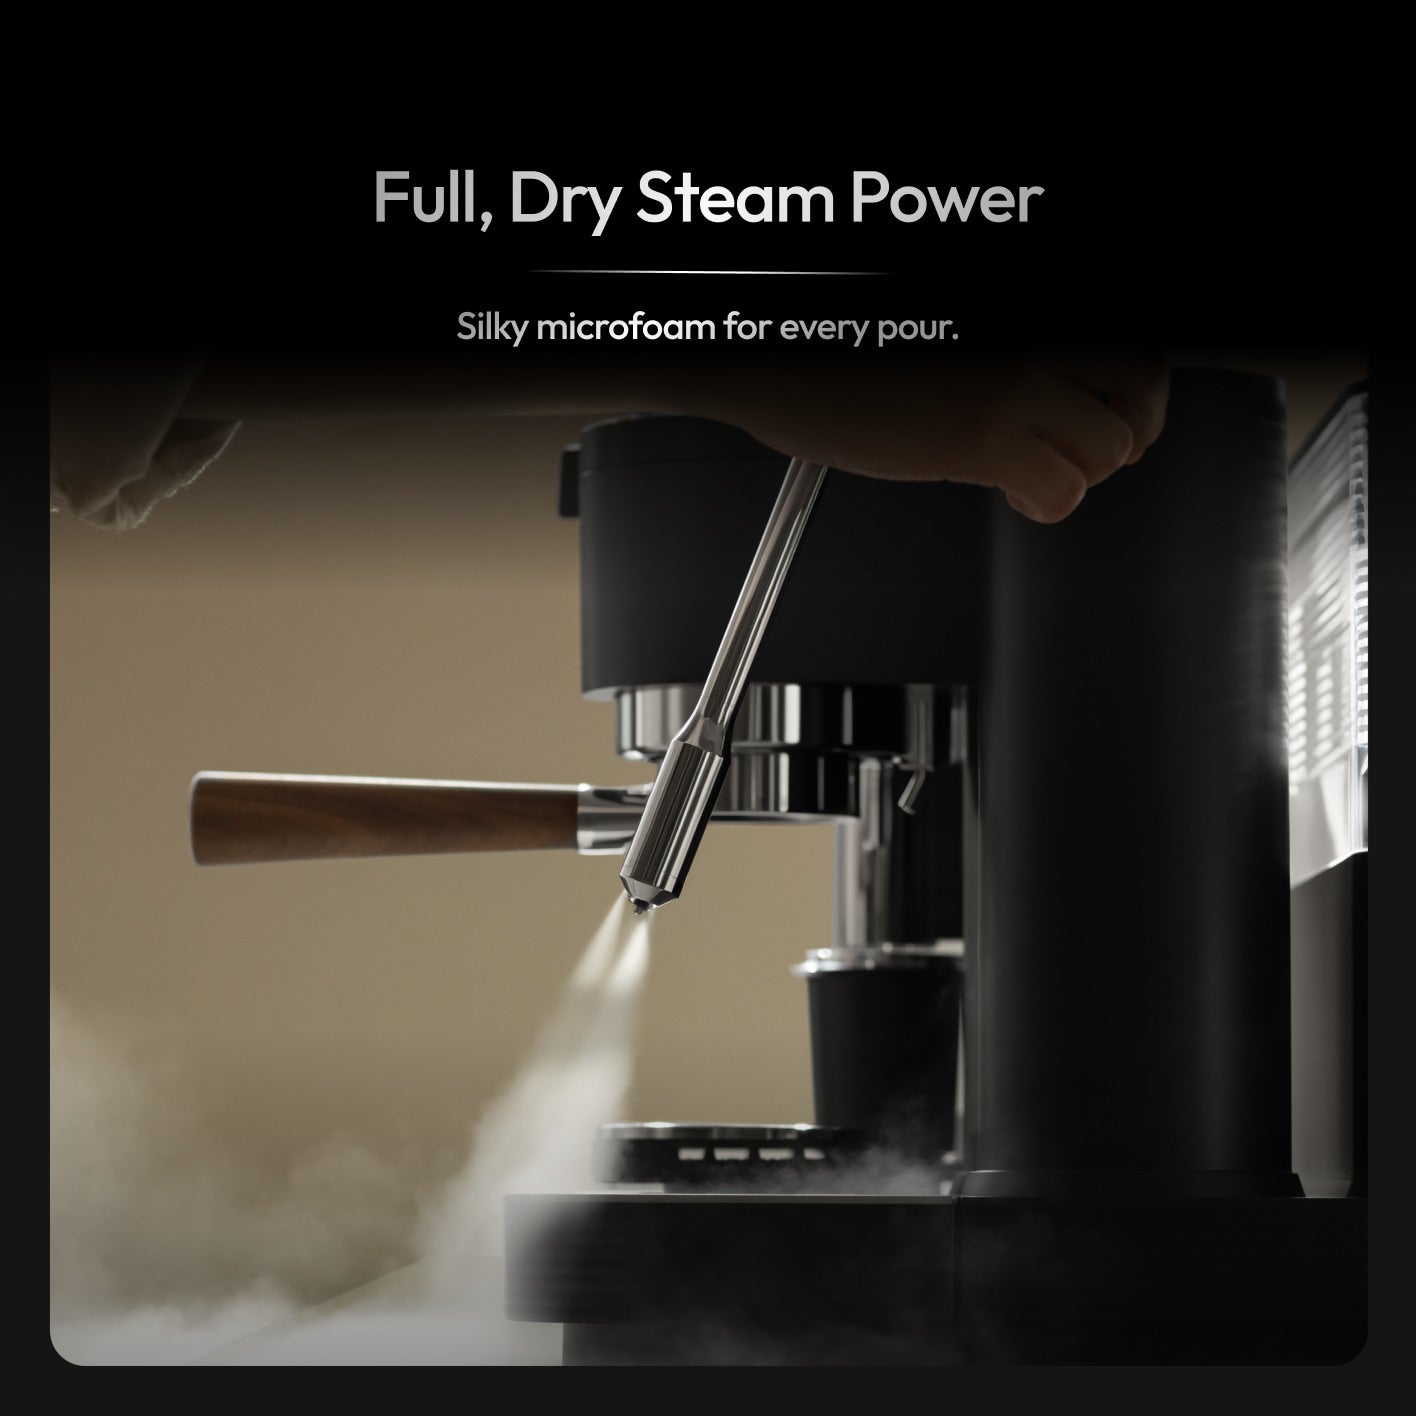
Meraki’s dual-boiler steam wand is meant for simultaneous brew-and-steam workflows; pair it with a stainless pitcher sized to your cups, not a catering urn. Disclosure: Meraki product path. See the Meraki espresso machine, pitcher literacy in this guide, and station tools in accessories. Composition: Coffee & Health; sensory: Coffee Review; caffeine: NCA caffeine.

Mistakes to avoid
Oversized jugs for tiny drinks. Scorching milk while chasing big bubbles. Buying nonstick gimmicks that chip. Expecting spout shape to fix untextured milk. Fast Q: latte size? Often 12–20 oz. Steel vs coating? Steel. Need spout? For art, yes. Cup size? Match recipe volume.
Temperature feel and handle ergonomics
Stainless teaches you temperature through the wall; that feedback is part of steaming skill. Handles should clear the steam wand angle without burning knuckles. Welded handles feel premium; riveted ones are fine if secure. Skip pitchers that wobble when empty—base stability matters when you swirl before pouring art.
Volume marks help guests share your recipe. If marks fade, weigh milk once and crease a mental line. Clean pitchers immediately; dried milk proteins are harder than yesterday’s motivation. Dishwasher safety varies—check the maker rather than assuming every steel jug enjoys high heat cycles.
Practice path without wasting gallons of milk
Use water with a drop of soap for early pour-pattern practice, then switch to cold milk for texture. Steam smaller test volumes while learning stretch timing. Watch latte art tutorials after foam looks glossy; pouring on bubble-bath foam teaches frustration, not wrists. Keep one pitcher dedicated to dairy and another to oat if cross-flavor bothers you.
Steel care and spout trueing
Wash milk jugs promptly; protein films become stubborn fast. Occasional vinegar or dairy-safe pitcher cleaners help if your water and milk leave films—follow product directions. Do not take metal polish fantasies into the interior brewing surface; you want clean steel, not scented wax near milk.
If a spout pours left or right consistently, practice wrist alignment before blaming the pitcher. Some spouts are simply wider; they forgive beginners and limit advanced art. Buy the spout that matches your current goal, then upgrade when hearts look easy.
Cupboards full of unused 32 oz jugs are a common home-barista artifact. Keep the size you steam weekly on the counter and store the rest. Pair cups intentionally: small demitasses for straight shots, wider cups for latte art practice, insulated travel mugs when art is not the point.
Connecting pitcher choice to drink menu
Flat whites want finer microfoam and often smaller milk volumes—12 oz pitchers shine. Large mocha crowds may need the 20 oz class. Cappuccino foam can be slightly denser; still avoid bubble-bath texture. Write your house recipes with milk ounces beside espresso dose so guests inherit consistency.
Expresso cups misspellings in search still point to cup shopping: keep a few demitasses and a few latte bowls. Matching ceramics to recipes prevents art from drowning.
Keep one pitcher on the counter sized to your most common drink and store outliers. Steaming confidence grows faster with familiar geometry than with a rotating cast of novelty jugs. When art fails, check foam gloss and temperature before buying another spout shape.
Rehearse fill lines with water before wasting milk. Spout practice on a towel saves laundry. When steam power is strong, respect smaller pitchers so whirlpools form instead of chaotic bubbles.
Conclusion
Choose a stainless milk jug whose volume matches your drink, prefer a spout you can aim, and let steaming technique—not pitcher merch—finish the texture.
Pair the right jug with the Meraki espresso machine, then practice with steam and texture guidance.
FAQ
What size milk pitcher for lattes?
Many home lattes work well in a 12–20 oz (about 350–600 ml) pitcher. Match pitcher size to milk volume: too large and you cannot roll microfoam; too small and milk overflows while stretching.
Stainless vs nonstick pitcher?
Stainless steel is the durable default for steaming—responsive temperature feel, dishwasher-friendly options, and no peeling coatings. Nonstick coatings can chip; prioritize steel for latte art practice.
Do I need a pointed spout for latte art?
A defined spout helps aim pours for hearts and rosettas. Rounded pouring lips work for plain flat whites but make precise art harder. Spout geometry matters once your foam is already glossy.
Best espresso cup size?
Espresso cups are often 2–3 oz for straight shots; latte cups commonly sit around 6–10 oz depending on recipe. Pick cups that match your drink volume so art has a canvas without swimming in empty ceramic.
How much milk for one latte?
Start near 5–8 oz of cold milk for many single-latte recipes, then adjust to cup size and espresso volume. Steam only what you will pour; leftover scorched milk is waste.


