


You found a temperature dial — or a screen that looks like one — and the internet is already arguing about degrees. A search for espresso machine with temperature control PID basics rarely needs another engineering essay. It needs settings literacy: what to set first, what to leave alone for a week, and when changing brew temperature matters less than changing beans or grind.
This Meraki explainer owns that beginner lane. Soft lane for the deeper PID mechanism and roast-dialing dive: PID espresso temperature control guide. Soft lane for weekday A/B cup tests: home tests for espresso temperature stability. Soft lane for “what stability buys” shopping literacy: what temperature stability buys. Use this page when the open question is how do I use temperature control without turning every morning into a lab?
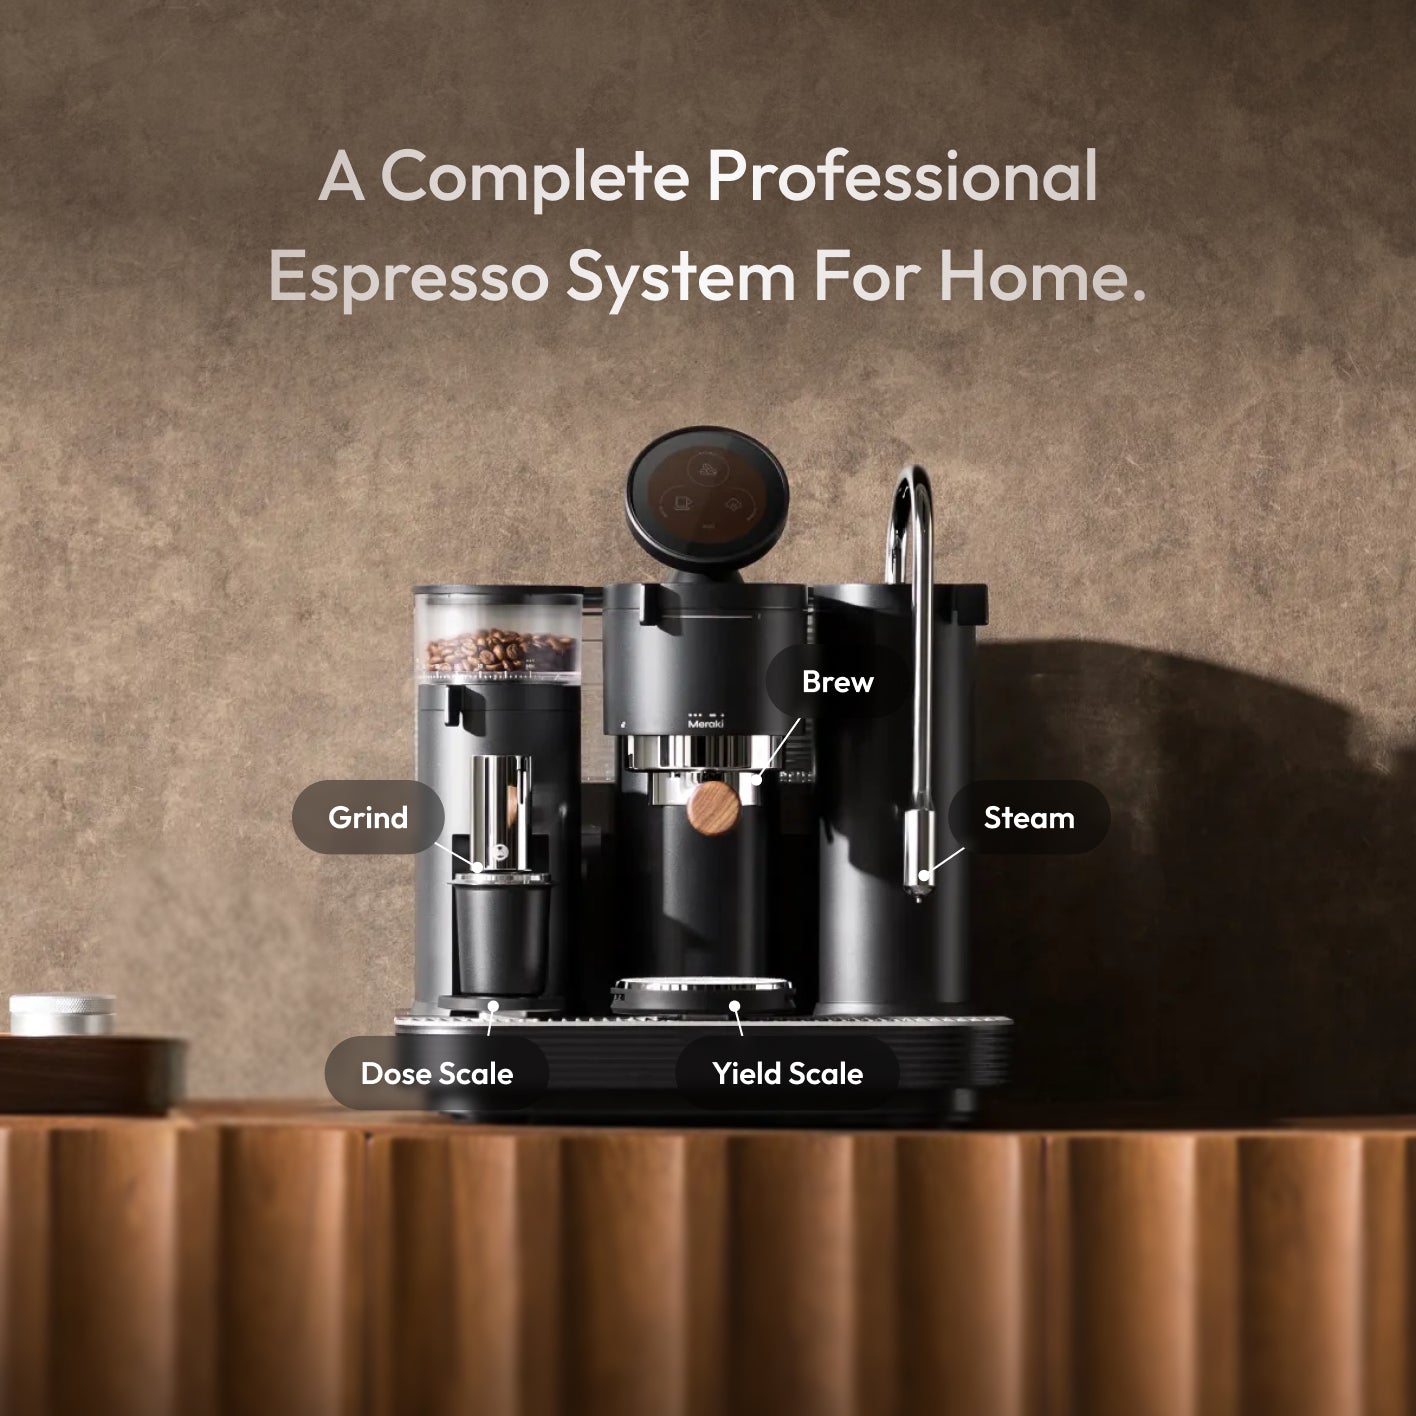
PID basics for home are a settings order of operations — not a race to invent a new °C every day.
What “espresso machine with temperature control PID basics” really means for home buyers
PID basics here means beginner settings literacy for brew-temperature control — not a controller-tuning course and not a “best PID machine” shopping list.
Search often returns retrofit kits, forum debates, product roundups, or long pages that explain Proportional-Integral-Derivative math. Those answers help engineers and upgraders. New home baristas usually need a narrower brief: How do I treat a temperature setpoint as one quiet tool beside grind, dose, and beans?
Temperature control means the machine tries to hold a brew-heat target more tightly than a simple on/off thermostat. PID (Proportional-Integral-Derivative) is the common name for that feedback style — a sensor reads heat, the controller compares it with the target, and the heater gets smaller corrections instead of wide swings. Category literacy from the Specialty Coffee Association and practical guides such as CoffeeGeek still matter more than the letters on a badge: a setpoint only helps if the rest of the recipe is honest. NIST is a useful reminder that a number without a method is marketing, not measurement.
Treat the keyword as a settings-order brief. Architecture context lives on the dual boiler espresso machine page. Deeper PID how-it-works copy stays on the PID temperature control guide.
Who this page is for (and who should skip it)
This page is for beginners (and calm intermediates) who just got — or are about to get — an espresso machine with temperature control and want a first-week settings order without becoming a PID hobbyist overnight.
Skip the deeper PID mechanism, thermostat comparison tables, and roast-dialing depth — PID espresso temperature control guide. Skip “what temperature stability buys” shopping framing — what temperature stability buys. Skip practical multi-shot home-test kits — home tests for temperature stability and the probe-oriented how to test temperature stability at home. Skip brand-vs-brand temperature shopping and heat-up-clock essays — those are different jobs. Come here when the missing piece is: what do I set first, what do I leave alone, and when is temperature the wrong lever?
Why this is settings literacy (not another PID deep dive)
Nearest Meraki pages already own PID hardware literacy, stability-as-upgrade framing, and home-test protocols. Forums argue about kits and “best PID” lists. What stays thin for this query is a beginner settings-literacy path: a plain mechanism sketch, a daily-cup translation, a leave-alone list, a clear rule for when brew temp vs beans/grind should move first, and a short checklist you can finish before coffee gets cold.
Unique job: teach the order of operations for temperature control — then soft-link deeper guides when you are ready. Disclosure: Meraki publishes this guide and sells the Meraki Espresso Machine — dual-boiler all-in-one with PID + heated group head framing, commercial rotary pump near steady 9 bar, dual scales (±0.2 g), TIMEMORE® co-developed burr path, and heat-up about 3–4 minutes (product FAQ; re-check live, 2026-10-26/27). We illustrate with Meraki’s verified path. We do not invent competitor default °C tables, fake factory setpoints, or “perfect temperature” charts. Meraki’s live product story does not publish a fixed public brew-temperature default table — so this page will not invent one.
The mechanism in plain language
Think of PID as a careful thermostat with a memory and a brake pedal — not as a flavor button.
A sensor watches brew-path heat. The controller compares that reading with your setpoint and applies smaller heater corrections instead of wide on/off swings. That is the practical idea. The letters P, I, and D name how it weighs the current miss, the lingering miss, and the rate of change — optional detail for weekday cups.
Three limits stay honest: the display number is not always exact puck water temperature; PID cannot fix grind, channeling, or stale beans; dual boilers reduce brew/steam interference but still need a full workflow. Deeper mechanism and dialing: PID temperature control guide. Architecture: dual boiler landing. Follow the manual; treat heaters as ordinary appliances (UL, CPSC). Warm-up energy is usually modest next to beans (energy.gov).
What changes in your daily cup
Temperature control mostly changes repeatability, not magic.
With a steadier brew-heat starting point, the same dose, grind, and yield are more likely to taste alike across weekdays. If the cup is sour or harsh while flow time looks sane, consider a small temperature nudge after you trust grind and dose. If flow time wanders, temperature is usually the wrong first lever.
In cup language — not as invented °C charts — cooler brew heat often tastes sharper or thinner; warmer heat often tastes rounder, then flatter or harsher if you overshoot. Those are directional cues from specialty practice (SCA, SCA research; Barista Magazine), not transferable forum tables. Milk drinks still need steam skill; brew PID does not texture milk.
Worth wanting: fewer mystery mornings. Not worth promising: café perfection from a badge alone.
Home tests you can run without lab gear
You need one locked recipe and honest notes — not a lab probe — to practice settings literacy.
Keep this light. The full practical-tests kit lives on home tests for espresso temperature stability. Probe logging: how to test temperature stability at home. Minimum for settings literacy:
- Warm fully to your machine’s ready signal (Meraki FAQ framing: about 3–4 minutes — a vendor ready claim, not a lab path certificate).
- Lock dose, grind, and yield for two weekday shots.
- Taste shot A vs shot B with three words each (bright / balanced / dull is enough).
- If both match, leave temperature alone and drink.
- If both miss in the same way and flow time is sane, then consider one small brew-temp nudge — not three changes at once.
- If flow time wandered, fix grind/distribution/dose before touching temperature.
That is settings literacy in action: temperature is a late lever, not a morning panic button.
Settings most people should leave alone at first
Most beginners break consistency by touching too many controls before one recipe is boring.
Leave these alone until your locked recipe tastes “good enough” two mornings in a row:
| Setting / habit | Why leave it alone first | When it earns a turn |
|---|---|---|
| Brew-temperature offset / fine °C hunting | Hides grind and dose mistakes | After flow time is sane and taste still leans sharp or flat |
| Exotic flush rituals copied from other brands | Confuses water and heat habits | Only if your manual asks |
| Steam-temperature experiments during brew dial-in | Mixes milk craft with brew diagnosis | After brew cups agree |
| Saving five near-identical drink profiles | Menu clutter without learning | After one weekday drink is stable |
| Controller “advanced” menus / retrofit tips | Risk and rabbit holes | Rarely — prefer support + manual |
| Changing beans and grind and temp same day | No clean lesson | Change one variable per morning |
On a guided system like Meraki’s, finish warm-up, keep dose and yield visible on the built-in scales if you use them, and treat the brew-temperature control as a quiet background tool until the cup asks for it. Follow the manual; do not improvise heater workarounds.
Tradeoffs and limits of the feature
PID temperature control is a stability tool with honest edges.
Helps: holding brew heat nearer a target than a crude thermostat; making recipe changes easier to taste; reducing one drift source when the path is ready.
Does not replace: grinder quality, dosing, puck prep, fresh-enough beans, or warm-up. A precision label does not fix channeling.
Can cost: menu temptation — chasing setpoints because the dial exists. That is the opposite of settings literacy.
Does not guarantee: identical taste across brands, display °C equal to puck water, or automatic light-roast excellence. Dual boilers plus PID (Meraki’s framed path) separate brew and steam jobs, but workflow still matters. Architecture: dual boiler page. Shopping-value framing: what temperature stability buys. Competitor “default °C tables” online are that author’s claim for that machine — this page will not invent or copy them.
How this pairs with grinder, scales, or steam
Temperature control works best as one quiet teammate, not the team captain.
Grinder first. Particle size usually moves extraction more than a small temperature nudge. If shot time is far off, change grind one step before brew temp. Meraki frames a TIMEMORE® co-developed burr path with 45 grind settings onto the scale — confirm live on the product page.
Scales second. Dose and yield make heat experiments comparable. Meraki frames dual scales at ±0.2 g — confirm live.
Steam last in diagnosis. If espresso is fine but milk drinks disappoint, fix steam habits before rewriting brew setpoints. Dual-boiler readiness helps; it does not replace practice.
Confusing-cup order: warm-up → dose/yield lock → grind → distribution/tamp → small temperature nudge → bean change only if the roast is wrong for you. Structured A/B practice: home temperature tests.
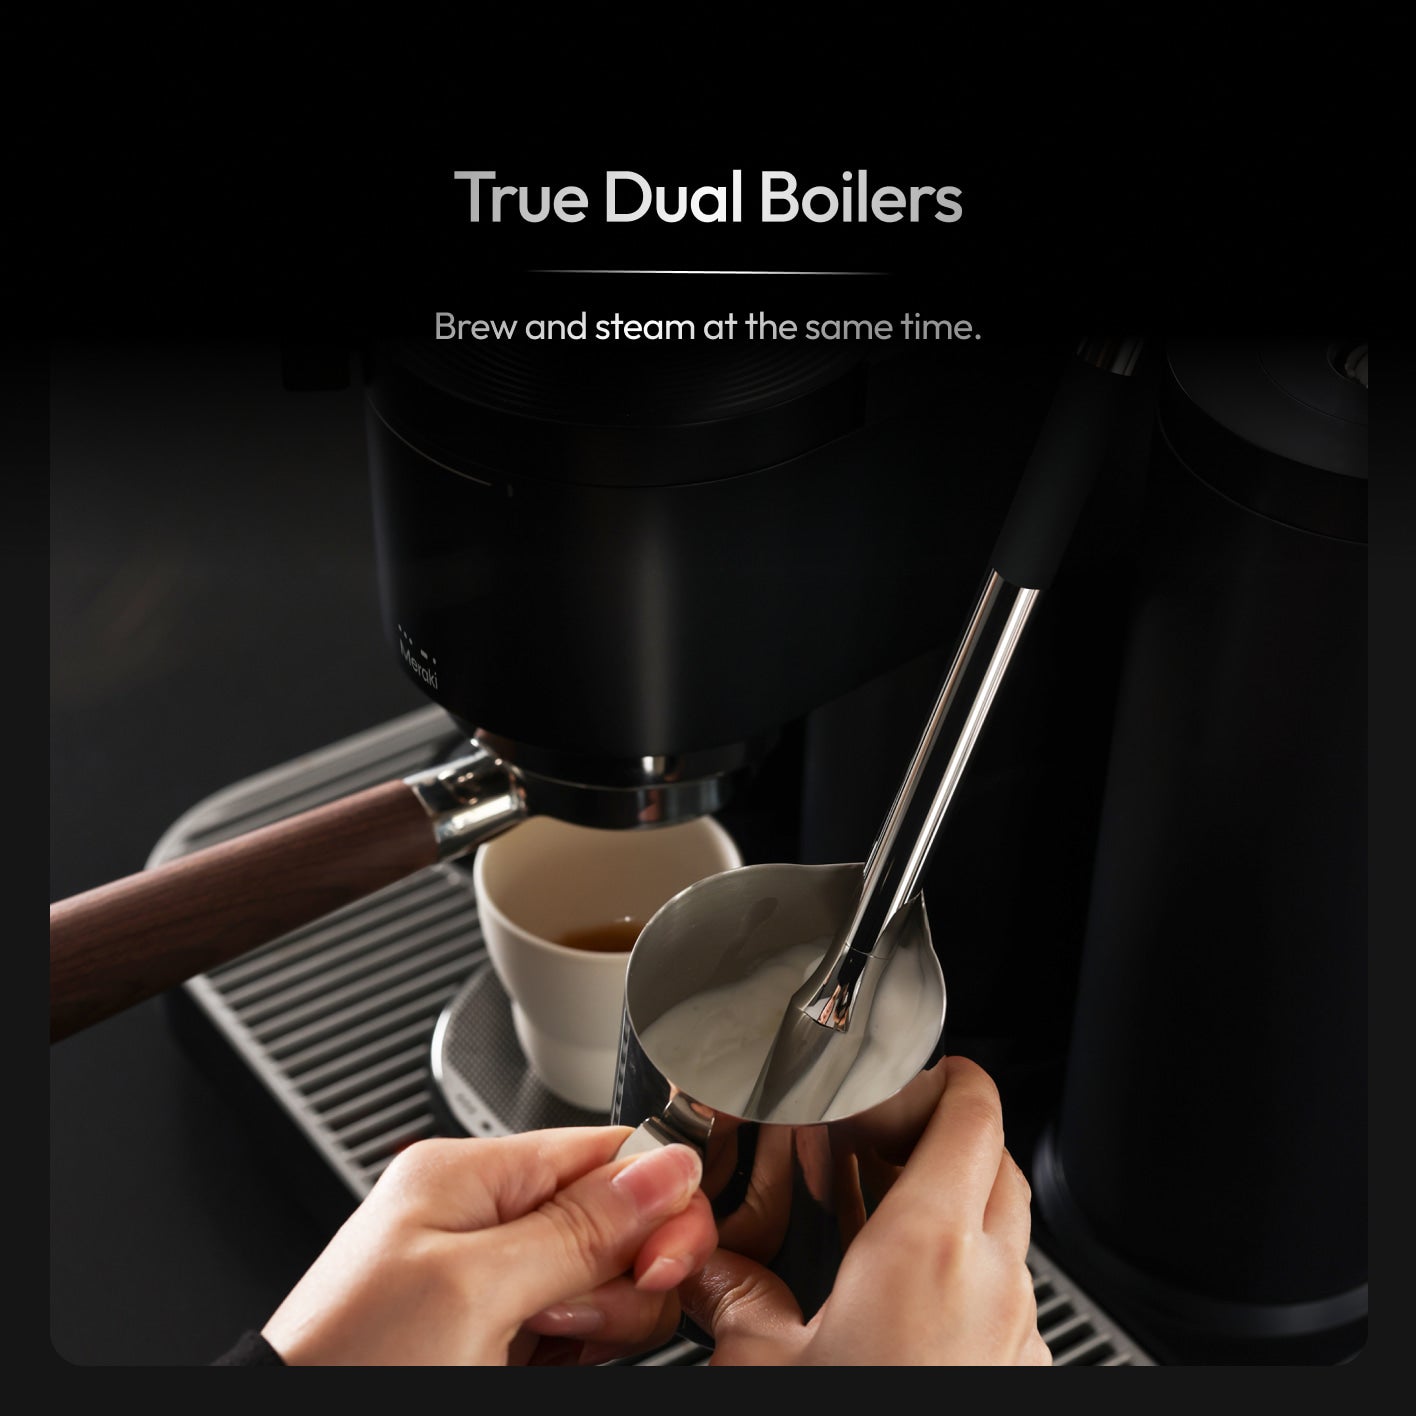
Grind and scales usually teach faster than a lonely temperature dial — PID keeps the heat path quieter while you learn.
Practical takeaway checklist
Use this as a first-week card. Stop when the cups agree.
- Warm fully — ready signal first; add a short buffer only if your own notes show shot one is always odd.
- Lock one recipe — same beans, dose, grind, yield for several mornings.
- Leave advanced temp menus alone until that recipe is boringly drinkable.
- Taste before you tweak — three words per shot beat a spreadsheet.
- Fix flow problems with grind/dose, not with temperature panic.
- Change one lever per morning if you change anything.
- Nudge brew temp only when flow is sane and taste still leans consistently sharp or flat.
- Soft-open deeper guides when ready — PID temperature control guide for mechanism/dialing depth; home tests for series checks.
- Ask Support, not forums, for faults — Meraki Support (+1 833 854 9555, Mon–Fri 9 AM–5 PM EST) when the machine behaves unlike the manual.
Settings literacy is finished when you know which lever is next — not when you memorize someone else’s °C chart.
FAQ
FAQ
Do I need to understand P, I, and D math to use PID at home?
No. For home basics, treat PID as steadier brew-heat control than a simple thermostat. You need a locked recipe, full warm-up, and a clear rule for when temperature is the wrong lever. Read the deeper Meraki PID guide if you want the control-theory detail later — it is optional for weekday cups.
Should I change brew temperature or grind first when espresso tastes off?
Change grind (or dose/distribution) first when flow time is far from your usual ballpark. Consider a small brew-temperature nudge only after warm-up is honest, dose and yield are locked, and taste still leans consistently sharp or flat with sane flow. Changing both the same morning teaches nothing clean.
Does Meraki publish a default brew-temperature °C chart I should copy?
As of the 2026-10-26/27 live product snapshot used for this article, Meraki markets PID + heated group head for stable heat, but does not publish a public default brew-temperature table for every roast. Do not invent one. Start from the machine’s current setpoint, lock a recipe, and nudge only when the cup asks — then confirm any on-screen defaults in your own unit’s UI and manual.
How is this page different from Meraki’s main PID temperature control guide?
That guide owns deeper mechanism, thermostat contrast, recovery framing, and roast-dialing depth. This page owns beginner settings literacy: what to set first, what to leave alone, and when beans/grind matter more than brew temp. Soft-link both; do not treat them as duplicates.
When should I run home temperature tests instead of changing settings?
When shot-to-shot taste disagrees even with a locked recipe — or when you cannot tell first-shot luck from real drift. Use the home-tests guide for a weekday A/B kit, or the probe how-to-test page if you want blank-shot logging. Do not open advanced temperature menus until a simple series clarifies the problem.
Conclusion
For home baristas, espresso machine with temperature control PID basics means learning a calm order of operations: warm up, lock a recipe, leave advanced menus alone, fix grind and dose before heat panic, and nudge brew temperature only when the cup still asks. PID makes the thermal path quieter; it does not replace beans, grind, or patience. Keep deeper mechanism pages and home-test kits one click away — and keep weekday mornings simple enough to finish.
If you want that quieter path inside a dual-boiler, measured workflow, review the Meraki Espresso Machine and the dual boiler espresso machine overview — then decide with your own cups, not with someone else’s invented °C table.


