


You already pull drinkable espresso near a steady ~9 bar. A friend, a forum thread, or a product page now whispers that espresso machine pressure control beyond 9 bar — light profiling, a lower peak, a gentler ramp — is the “next level.” The useful question is not whether pressure can move. It is whether you should touch it yet, and when a controlled change earns the attention of an advanced home hobbyist.
This Meraki guide owns advanced optional decision-making: who benefits from pressure control or light profiling at home, who should leave a fixed ~9 bar alone, common mistakes, and leave-alone settings. Soft-link 9 bar and beyond: what espresso machine pressure actually does for pressure physics and why ~9 bar became a handshake; pressure profiling at home without expensive gear for the full “what you can control” tutorial; pressure gauges: reading the needle for analog-needle literacy; pressure too low: what to check for fault triage; and does pre-infusion make espresso pressure more stable when pre-infusion — not optional profiling — is the open question. Soft-name digital display metric triage (A030 cousin) when the blocker is which numbers to watch, not whether to leave fixed 9 bar alone.
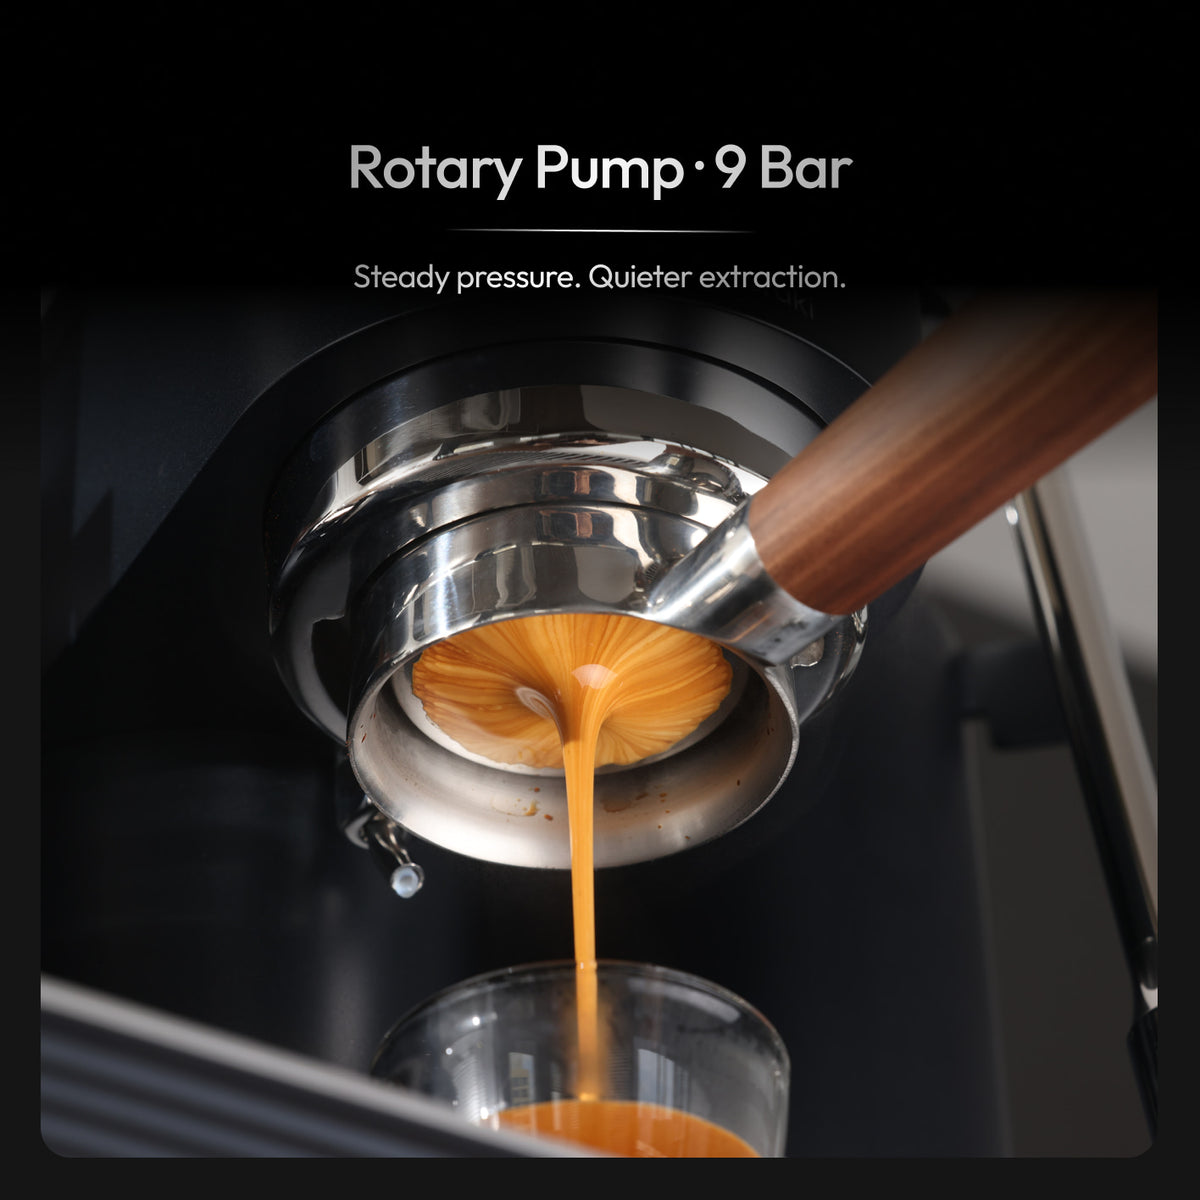
A fixed ~9 bar brew path is not a beginner cage — for many home kitchens it is the setting you return to after optional experiments fail.
What “espresso machine pressure control beyond 9 bar” really means for home buyers
Espresso machine pressure control beyond 9 bar, for advanced hobbyists, means optional levers that change how pressure rises, peaks, or falls during a shot — not a mandate to abandon the industry’s ~9 bar reference, and not a claim that “more bars” tastes better.
SERP mixes physics explainers, café-history essays, Reddit flow-control threads, and shopping cards that still flash 15 or 20 bar peaks. Useful readers already know ~9 bar is a common brew target. What they still lack is a permission and decision card: when a controlled change helps, when it only adds chaos, and which “beyond 9 bar” pitches are peak-pump theater.
Treat the keyword as three layers: fixed ~9 bar competence (dose, grind, yield, puck prep already repeatable); optional pressure control (lower peak, slower ramp, gentler start, or a named taper you can reverse); and noise (marketing maxima, pressure tweaks while grind still drifts, gauge flutter as a recipe). Soft-link physics and profiling tutorials when those lanes own the next click; stay here for whether the option is worth opening.
Who this page is for (and who should skip it)
This page is for advanced hobbyists — people who already pull consistent shots near fixed ~9 bar and are deciding whether pressure control or light profiling is a useful next lever or an expensive distraction.
Skip 9 bar and beyond for pressure-physics teaching; pressure profiling at home for the full without-expensive-gear tutorial; pressure gauges for needle reading; pressure too low for fault triage; and pre-infusion stability when only pre-infusion is under debate. Soft-name display metric triage when on-screen bars need Watch / Glance / Ignore rules first. Soft-name PID / thermal-stability / rotary duty-cycle drafts when hardware — not optionality — is next. Come here for: stay on fixed ~9 bar, or open one controlled pressure change?
Why advanced optional is the real pressure-control problem
This article is published by Meraki. The unique job is advanced optional: a decision table for who benefits from pressure control beyond a fixed ~9 bar at home, who should leave it alone, mistakes that wreck a good dial-in, and settings most people should not touch first.
That is not physics 101, not a full profiling-without-gear tutorial, not gauge reading, not low-pressure triage, and not display-metric triage. Soft-link those posts when their lane owns the next click; keep this page for permission, tradeoffs, and leave-alone discipline.
Disclosure: Meraki sells the Meraki Espresso Machine — dual boilers, rotary pump framed near steady 9 bar, built-in dual scales (±0.2 g), TIMEMORE® co-developed grinder, guided touchscreen. Live framing (2026-10-26/27): heat-up about 3–4 minutes; brew and steam together. Re-check the Meraki Espresso Lab before treating any control surface as permanent. No invented German Design / Red Dot claims here.
The mechanism in plain language (then stop and link)
You only need enough mechanism for the decision table to stand — then leave the physics hub alone.
A pump pushes water toward the group. A regulating path (often an OPV or similar limit) keeps raw pump ceilings from dumping into the puck. Grind, dose, distribution, and tamp still decide how that capped delivery behaves. Pressure control beyond a fixed ~9 bar means you can intentionally change the shape — gentler start, lower peak, taper, or a named profile — not that a higher marketing maximum extracts “more quality.”
Soft-link 9 bar and beyond for why ~9 bar stuck and what profiling means as a concept; soft-link pressure profiling at home for levers without boutique gear. Specialty Coffee Association and CoffeeGeek guides still start with grind, dose, yield, and taste before optional pressure theater.
Decision table: stay on fixed ~9 bar or open a control?
Use this as a fridge-door card — not a lab certificate. If two rows conflict, the leave alone row wins until dose, grind, and yield are boringly stable.
| Situation | Pressure move | Why | Leave alone if… |
|---|---|---|---|
| Dose, grind, yield already repeat; cups are “good enough” Mon–Fri | Stay fixed ~9 bar | Consistency beats novelty on a work morning | You only feel FOMO from forums |
| Light roast stays sharp/sour after honest grind + yield work | Optional: gentler start / slightly lower peak (one change) | Softens early extraction stress without rewriting the whole recipe | You have not locked dose/yield yet |
| Dark roast tastes hollow / harsh at the same fixed peak | Optional: slight peak reduction or shorter yield first | Taste often moves more from ratio than from a new bar number | You change grind and pressure in the same shot |
| Channeling / spray on a bottomless portafilter | Fix puck prep first | Pressure control will not glue a cracked bed | You treat a new profile as a distribution substitute |
| Gauge or screen shows “low” while cups are fine | Soft-link gauges / too low | Reading or fault — not optionality | You “fix” pressure to chase a needle |
| You want café-style multi-stage curves tomorrow | Soft-link profiling at home | That page owns the how-to | You skip documenting a reverse path |
| Marketing box says 15 / 20 bar | Ignore as a dial-in lever | Peak pump theater ≠ puck brew band | Soft-link 9 bar and beyond for physics |
NCA brewing basics and About Coffee brewing still separate method from gadget ceilings. Optional pressure control earns a seat only after the basics stop moving.
What changes in your daily cup (when the option helps — and when it does not)
When a controlled change helps, the cup usually gains forgiveness or clarity, not magic. A gentler early ramp can soften harsh spikes on a dense light roast once grind and dose are honest. A slightly lower peak can calm a harsh finish on some darker beans after a yield or grind nudge. The weekday win is a named, reversible recipe — not a new superstition every morning.
When it does not help, mornings get worse fast: you “fix” sourness with a new peak while dose drifted; you stack pre-infusion, peak, and grind in one session; you chase a marketing maximum and call it control. Soft-link pre-infusion stability when only pre-infusion is open; soft-name display triage when vanity bar flashes steal attention from grams. Barista Magazine habits still win: one taste word, one lever, a path back to fixed ~9 bar.
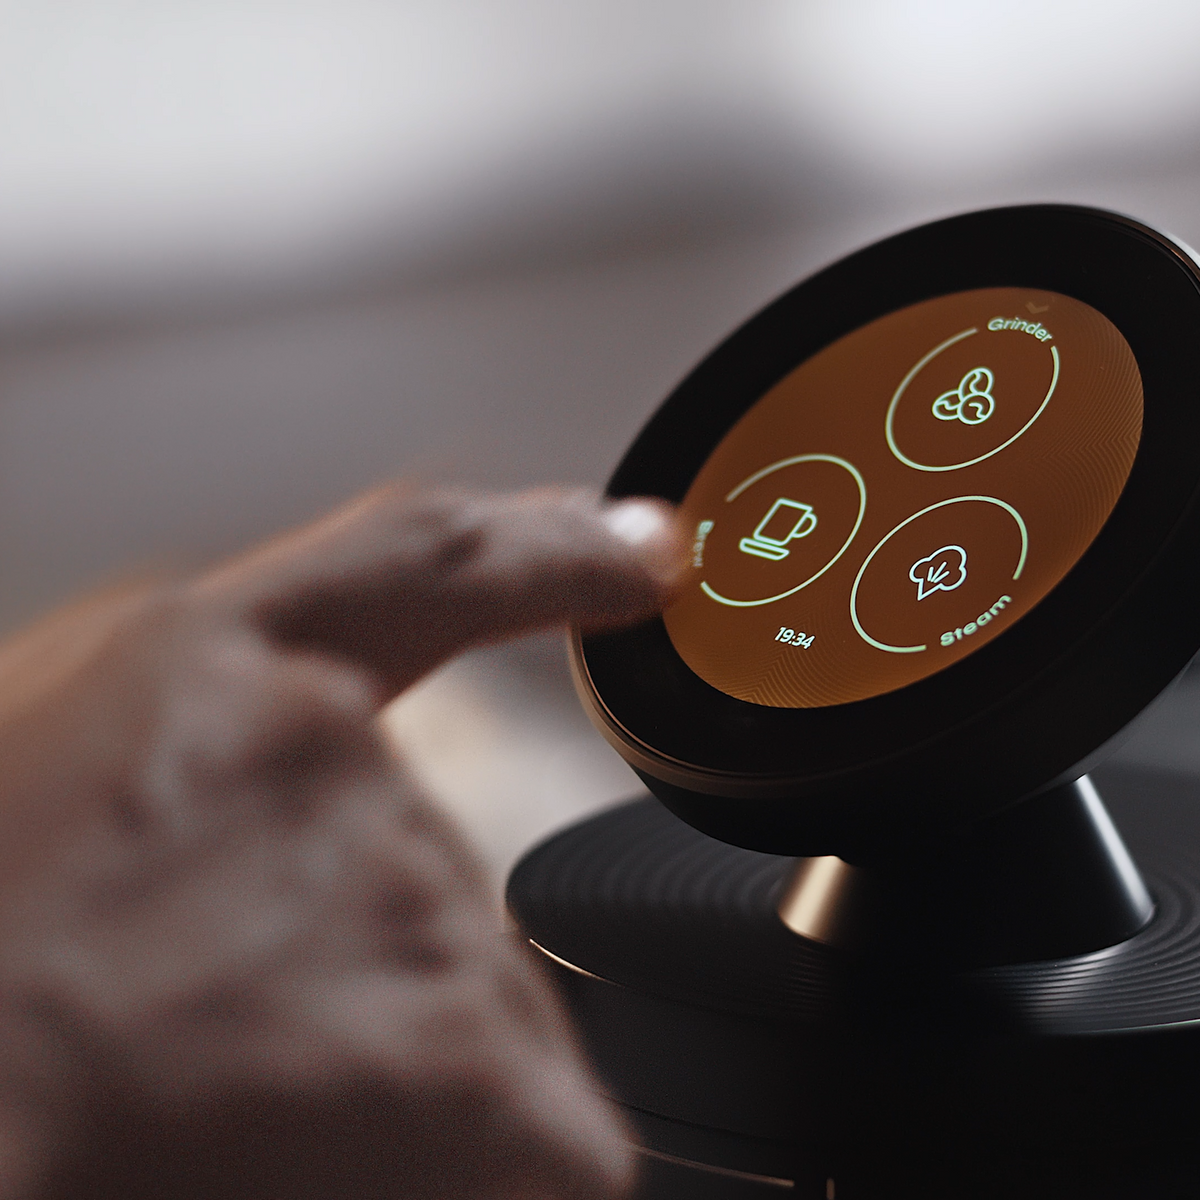
Optional pressure levers only help when you can name the change, log the cup, and reverse to a fixed ~9 bar baseline the same week.
Home tests you can run without lab gear
You do not need a data logger. You need one controlled experiment where pressure optionality is the subject — not latte art.
Step workflow — advanced optional pressure check
- Prove the baseline. Three weekday shots at fixed ~9 bar with locked dose and yield — taste already “good enough.” Soft-link 9 bar and beyond if you still need physics literacy.
- Write one optional change. “Gentler first 4–6 seconds” or “peak −1 bar” — not both. Soft-link profiling at home for shaping it without boutique gear.
- Keep mass honest. Dose and yield fixed. Soft-name display triage when Ignore-column peaks steal attention from grams.
- Pull two test shots. One taste word each; log time only after mass is stable.
- Decide keep / revert. Keep only if both cups improve and you can reverse in under a minute.
- Stop. More tinkering is anxiety. Soft-link gauges or too low only if hardware looks unhealthy.
NIST reminds that trust grows when you re-measure the same target — re-measure dose and yield before a new pressure story.
Settings most people should leave alone at first
Leave these alone until the fixed baseline is boringly stable:
- Stacked profiles — do not combine new pre-infusion, peak, and taper in one morning. Soft-link pre-infusion and profiling at home for single-lever depth.
- Marketing maximums (15 / 20 bar) — soft-link 9 bar and beyond; peak capability is not a puck brew target.
- Needle-chasing mid-shot — soft-link gauges; flutter is not a recipe.
- Pressure “fixes” for channeling — fix distribution and tamp first.
- Pressure while grind still drifts — one lever family at a time.
- Five half-finished profiles — one named optional recipe plus a clear path back to fixed ~9 bar.
UL and CPSC still frame appliance safety; optional menus are not a reason to ignore water, heat, and steam common sense.
Tradeoffs and limits of the feature
Pressure control trades optionality for attention cost. A reversible lower peak can save a stubborn light roast on Saturday; the same menu can freeze a Tuesday while you forget last week’s recipe. Fixed ~9 bar is not a cage — it is a stable weekday default.
Limits: sensors report what they see, not café soul; mass and flow still move taste more than vanity peaks; pre-infusion ≠ full profiling (soft-link that post); low pressure may be a fault (soft-link too-low triage); thermal problems are not fixed by a new peak (soft-name PID / thermal drafts). Soft-name rotary duty-cycle drafts when pump endurance — not optional curves — is next.
How this pairs with grinder, scales, or steam
Optional pressure sits on top of hardware jobs — it does not replace them.
Grinder: Finer / coarser still moves flow more than most light profiles — lock grind first. Soft-name integrated vs separate grinder drafts when station sprawl is next.
Scales: Dose and yield stay primary evidence. Soft-name display triage when on-screen bars compete with grams.
Steam: Dual-boiler mornings still need milk timing. Soft-link dry-steam / milk-texture posts when foam — not curves — is the pain; soft-name weekday-routine drafts when clock time is the habit to lock.
Energy.gov reminds that dual-boiler heat still costs energy — do not idle the machine while browsing optional curves you will not keep.
Practical takeaway checklist
Use this as a fridge-door card, not a second manual.
- Primary keyword job done: espresso machine pressure control beyond 9 bar means optional levers for advanced hobbyists — not a mandate to leave ~9 bar.
- Stay fixed ~9 bar until dose, grind, and yield are boringly repeatable.
- Open one controlled change; name it; keep a reverse path.
- Soft-link physics, profiling-how-to, gauges, too-low, and pre-infusion posts when those lanes own the deep dive — do not rebuild them here.
- Soft-name display triage / PID / thermal / rotary-duty drafts when the next blocker is not optionality.
- Revert if taste is mixed or mornings get slower.
- Re-check live Meraki framing on the Espresso Lab before treating any control surface as permanent.
Is 9 bar pressure good for espresso?
Yes for most home espresso — as a brew reference, not a religion. About 9 bar is the common handshake for regulated brew delivery; many excellent weekday cups never leave that neighborhood. Soft-link 9 bar and beyond for physics and history. Once that baseline works, treat anything beyond it as advanced optional, not a required upgrade.
Is 10 bar too much for espresso?
Not automatically — and “more” is not automatically better. A peak near 10 bar can still sit in a workable home band depending on regulation, puck resistance, and taste; a 15–20 bar marketing flash is a different conversation. Soft-link 9 bar and beyond for what pressure does, and gauges for needle reading. Do not raise a peak while grind and dose still drift.
When the optional-vs-leave-alone decision is clear, compare Meraki’s guided workflow and steady rotary-pump framing on the Meraki Espresso Lab page — then keep fixed ~9 bar as the weekday home you can always return to.
FAQ
Is 9 bar of pressure a lot?
In kitchen terms, yes — roughly nine times normal atmospheric pressure, often rounded near 130 psi — but for espresso it is a familiar brew reference, not an extreme stunt. Soft-link Meraki’s 9-bar-and-beyond explainer for physics; use this page when deciding whether to leave that reference alone or open one optional control.
Which espresso machine can generate 9 bars of pressure?
Many pump espresso machines are designed to deliver and regulate near about 9 bar at the brew path; listing language varies, and peak marketing bars are not the same claim. Soft-link Meraki’s 9-bar literacy posts for claim decoding; verify the specific model’s regulated brew behavior on its product page rather than treating every “9 bar” badge as identical.
Do I need pressure profiling if my fixed 9 bar shots already taste good?
No. Fixed ~9 bar competence is a complete weekday setup for many homes. Soft-link Meraki’s profiling-at-home guide only when you want a deliberate, reversible experiment after dose and grind are stable — not because forums treat profiling as mandatory.
Should I change pressure or grind first when a shot tastes off?
Change grind (and confirm dose/yield) first in almost every home case. Pressure optionality is a later lever for advanced hobbyists after mass and flow are honest. Soft-link Meraki’s too-low and gauge guides only if hardware behavior looks unhealthy.
Is a higher bar rating (15 or 20) better than 9?
Usually no as a quality score. Higher printed maxima often describe pump capability or marketing peaks, not a better puck brew target. Soft-link Meraki’s 9-bar-and-beyond physics page; keep optional control decisions on this page separate from shopping-card horsepower claims.


