


Here is the counterintuitive part: a taller foam hat does not automatically mean a better cappuccino. Many home cups fail because the foam is dry and huge while the liquid underneath is weak—or because the drink was built in a latte-sized mug with latte-sized milk.
This guide treats how to make a cappuccino as a set of trade-offs: wet vs dry foam, stretch vs texture time, and cup size vs milk volume. You will leave with a ratio you can repeat, not a vibes-based swirl.
What does a home cappuccino actually require?
Espresso, steamed milk, and deliberate foam in a small cup.
Lock a 5–6 oz cup, a double espresso, and milk that is stretched then textured—not endlessly aerated into a stiff cap.
A cappuccino is not “a latte with more foam.” It is a balanced small milk drink where foam is a structural third of the experience. Classic teaching often summarizes the cup as roughly equal parts espresso, steamed milk, and foam (1:1:1 by volume in a small cup). At home, measure the espresso first, then decide how wet or dry you want the foam. Industry education resources such as the Specialty Coffee Association emphasize consistent espresso and milk technique over gadget collecting. If you want machine-focused notes for this drink family, Meraki’s espresso machine for cappuccino guide covers gear fit without repeating every steaming step here.
Cappuccino vs nearby milk drinks: what are you choosing?
Choosing a cappuccino means accepting less milk volume and more foam presence than a latte. That is the trade-off, not a moral ranking.
A latte stretches milk into a larger cup with thinner microfoam for sipping and art. A flat white keeps microfoam fine but usually sits in a smaller cup with less visible dry foam. A cappuccino keeps a distinct foam layer you can see and taste. If you want maximum coffee intensity with less dairy, go smaller on milk—not taller on dry foam alone. For bean selection under that espresso, browse Meraki coffee beans and match roast intensity to how sweet your milk tastes.
| Drink | Cup (approx.) | Milk feel | Foam role |
|---|---|---|---|
| Cappuccino | 5–6 oz | Balanced | Visible third |
| Latte | 8–12 oz | Milk-forward | Thin microfoam |
| Flat white | ~6 oz | Dense microfoam | Little dry foam |

How do you steam milk for a cappuccino?
Stretch first, then texture—then stop.
Introduce air only while the milk is still cold, then bury the tip to spin and heat to about 140–150°F (60–65°C) without cooking the milk.
Purge the wand, wipe if needed, and place the tip just under the surface. You should hear a gentle paper-tearing sound during stretch. For a classic cappuccino, stretch longer than you would for a latte, but not until the pitcher is full of giant bubbles. Angle the pitcher to create a whirlpool during texture so bubbles break into finer foam. Stop when the pitcher is hot to the touch but still holdable. Tap and swirl to gloss the surface before pouring. Temperature tracking habits from cafe work translate well at home; trade coverage such as Perfect Daily Grind on temperature tracking shows why guessing with your hand alone leads to cooked milk.
What ratio should you pour into the cup?
Start near espresso plus equal milk-and-foam thirds.
In a 5–6 oz cup, a double espresso with roughly 4–5 oz cold milk (before expansion) keeps the drink from becoming a mini latte.
Pull espresso into the cup first so crema is present when milk lands. Pour from a modest height to integrate, then finish closer to the surface if you want a white foam cap. If the cup tastes thin, reduce milk next time rather than adding a third shot by default. If it tastes harsh, check espresso yield and grind before drowning it in dairy. National Coffee Association basics on what coffee is are enough context for why espresso concentration differs from drip when you set ratios. Keep a marked pitcher from the accessories collection if you want the same cold-milk line every morning.
Wet foam or dry foam: which failure are you fixing?
Dry foam is stiff and sits high; wet foam is glossier and integrates faster. Neither is “correct” in every cafe, but each fixes a different complaint.
Choose drier foam if you want a traditional cap and a spoonable top. Choose wetter foam if your cappuccinos taste disconnected—coffee downstairs, foam upstairs. Home baristas often overshoot dry foam because it looks dramatic in photos. Taste the integrated sip, not the Instagram peak. For milk chemistry and machine milk handling trends, see Perfect Daily Grind on milk quality as category context—not as a claim about any one brand’s wand.
How do dairy and oat milks change cappuccino foam?
Whole milk forgives timing errors; oat punishes long stretches.
Use whole dairy while you learn tip depth. Switch to barista oat with a shorter stretch and slightly lower temperature.
Protein and fat help foam stability; that is why skim milk can look foamy then collapse. Barista oat formulations add stabilizers that behave more like dairy under steam, but they scorch and separate if you chase latte-art temperatures too hard. Almond milks vary widely—treat each carton as its own experiment. Keep notes: milk brand, stretch seconds, final temperature feel. Meraki’s plant milk steaming notes dig into oat behavior without turning this cappuccino page into a second plant-milk essay. For dairy nutrition lookups, use USDA FoodData Central.
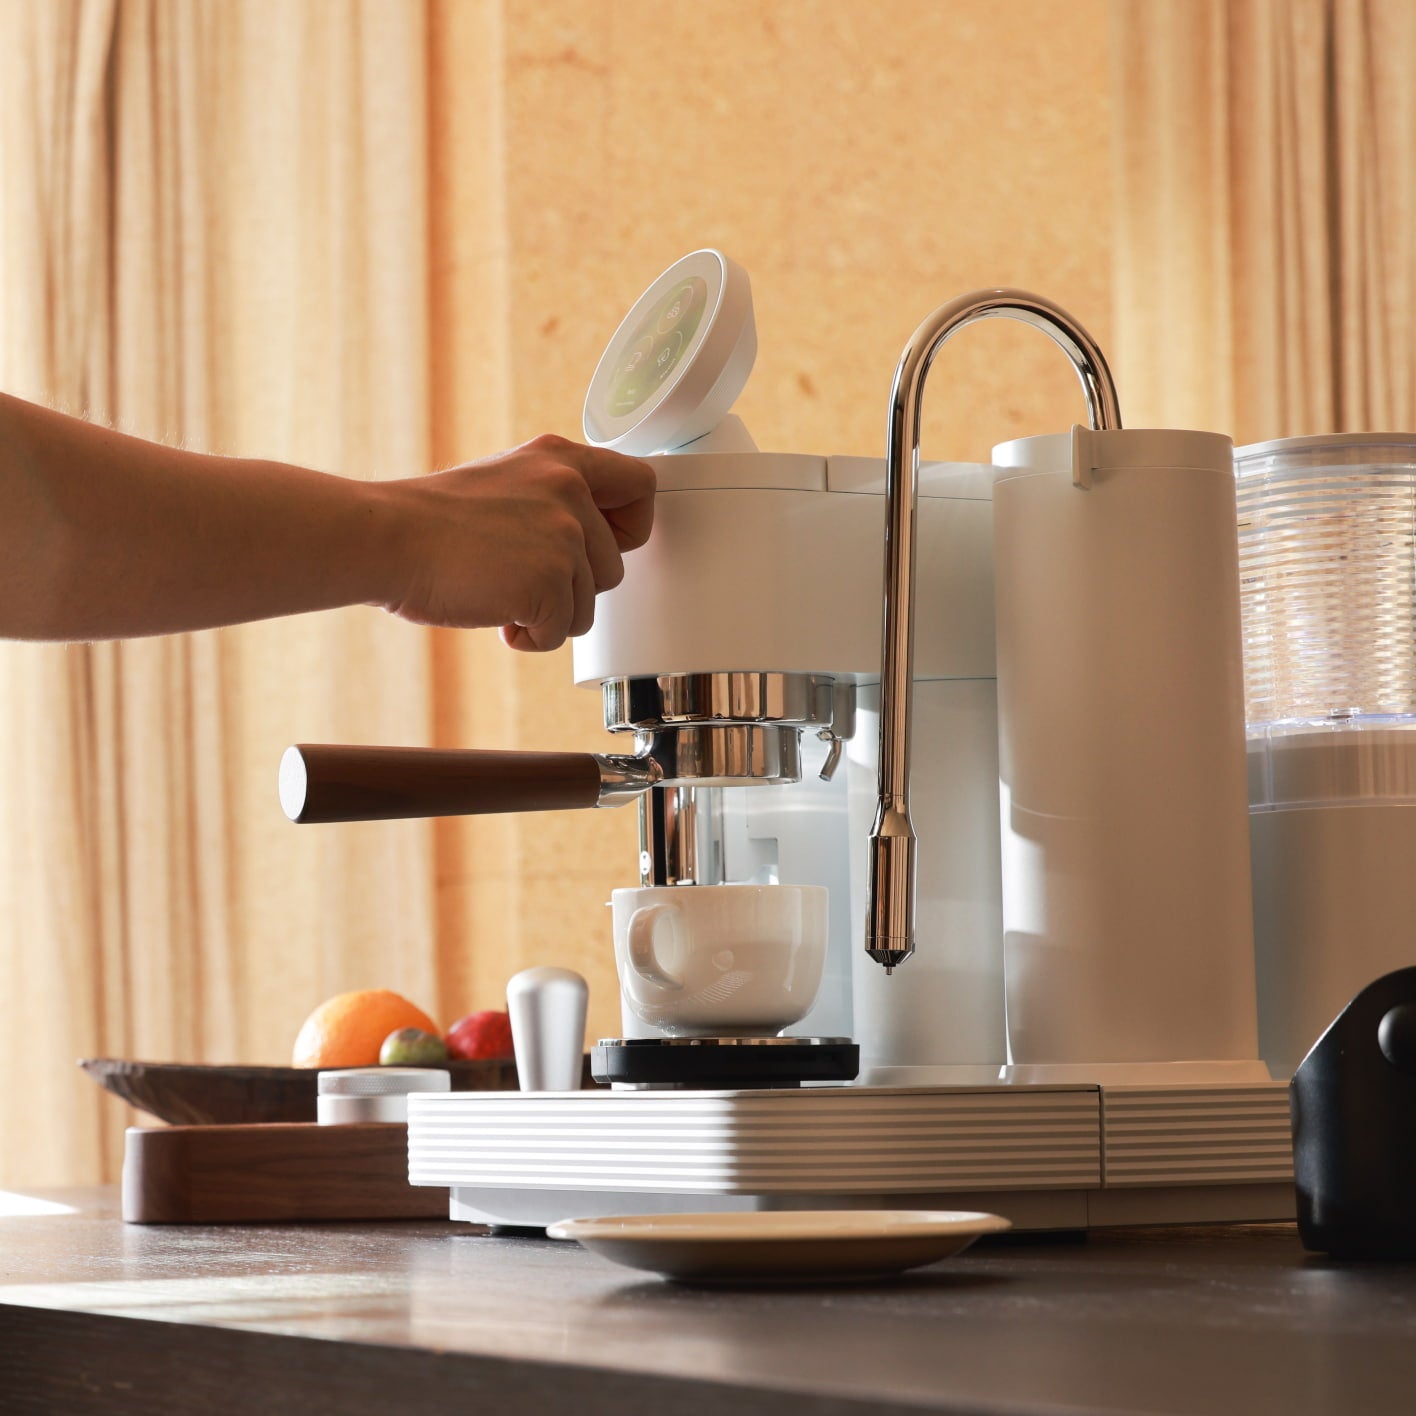
How Meraki dual-boiler steam helps (without the ad read)
Simultaneous brew and steam matter because cappuccino foam waits for no one. If you pull espresso on a single boiler then wait for steam pressure, the shot cools while you fiddle with the wand.
Dual boilers keep brew temperature stable while the steam boiler stays ready. A professional steam wand with dry steam makes it easier to stretch and texture without injecting large amounts of water into the milk—useful when you are chasing a defined foam layer in a small cup. Built-in scales help you keep espresso dose and yield consistent so milk experiments are not fighting a moving coffee target. Explore the Meraki espresso machine when you are ready for that workflow, or start with technique on whatever wand you have today. For wider coffee-and-health reading on caffeine load across multiple milk drinks, see Harvard’s coffee food feature.
Cleanup so the next cappuccino does not taste like yesterday
Purge and wipe the wand immediately after steaming. Milk film baked onto a tip changes the next stretch sound and can throw off foam. Rinse the pitcher, knock out the puck, and flush the group if your machine workflow includes it. Store beans away from the steam area so humidity does not stale them. For independent coffee reference reading, Coffee Review’s coffee reference is a long-running specialty resource. SCA’s research hub is another place to follow evidence-led coffee topics.
Parameters table
Keep this nearby while you practice. Adjust one row at a time.
| Parameter | Home starting point | Notes |
|---|---|---|
| Cup size | 5–6 oz | Larger cups drift toward latte |
| Espresso | Double shot | Fix recipe before changing milk |
| Cold milk in pitcher | 120–150 ml | Accounts for foam expansion |
| Milk temperature | ~140–150°F / 60–65°C | Stop before cooked sweetness |
| Foam style | Wet or dry by preference | Taste integrated sip |
Conclusion
Make the cappuccino small, keep foam intentional, and treat stretch vs texture as two separate moves. If the cup tastes like a latte, you used too much milk. If it tastes like espresso under a meringue, you stretched too dry for too long. Pick a wet or dry target, then repeat it for a week before you chase latte art.
When you want brew and steam ready together for milk drinks, look at the Meraki espresso machine. More drink walkthroughs live in coffee recipes.
FAQ
What is the best coffee to milk ratio?
For a classic home cappuccino, start near 1:2 espresso to steamed milk in a 5–6 oz cup, with foam making up a visible third of the experience. Adjust milk down if the cup tastes flat, or up slightly if it tastes too intense. Keep the espresso recipe fixed while you tune milk.
What makes a drink a cappuccino?
A cappuccino pairs espresso with steamed milk and a distinct foam layer in a smaller cup than a latte. The foam is intentional, not accidental. If the surface looks like a flat latte canvas in a tall glass, you made a different drink—even if the ingredients were identical.
What kind of milk is best for cappuccinos?
Whole dairy milk is the most forgiving for learning stretch and texture. Barista oat milks can work with a shorter stretch and careful temperature. Very low-fat or thin plant milks often produce weaker foam; change one variable at a time when you experiment.
How much milk for a cup of cappuccino?
Plan on roughly 4–5 oz (120–150 ml) cold milk for a 5–6 oz cup once you account for foam expansion and pour waste. Weigh or mark your pitcher so the starting line is repeatable. Too much milk turns the drink into a small latte.
Can I make a cappuccino without an espresso machine?
You can approximate one with a moka pot or strong concentrated coffee plus frothed milk, but the classic cappuccino texture assumes espresso-strength coffee and steam-wand foam in a small cup. Treat no-machine versions as practice for milk texture; move to a steam wand when you want repeatable wet or dry foam control.
More on this topic: Latte & Milk Coffee Recipes.


