


The failure usually looks like this: the espresso sits in a dark puddle at the bottom, a raft of big bubbles floats on top, and the sip in between tastes neither like coffee nor like milk. You did not “fail latte art.” You skipped integration.
This page is an implementation path for how to make a latte at home—shot, milk ounces, temperature, pour—plus an honest bridge if you do not own an espresso machine yet. When you want the cold version, jump to the iced recipe instead of improvising with ice cubes in a hot cup.
What does “how to make a latte at home” mean in practice?
A latte is espresso stretched with steamed milk into a larger cup.
Plan on roughly 1:3 espresso to milk by volume in an 8–12 oz cup, with glossy microfoam thin enough to pour—not a cappuccino foam hat.
Home lattes succeed when three numbers stay boring: espresso yield, cold milk volume in the pitcher, and final milk temperature near 140–150°F (60–65°C). Everything else—vanilla syrup, oat milk, heart pours—is optional. For roast context under that espresso, the NCA roast guide helps you match bean darkness to milk sweetness. Meraki also keeps a longer milk-ratio companion at milk ratios and the perfect pour if you want another internal angle after this workflow.
Gear checklist before you heat the pitcher
You can make a credible latte with an espresso machine, a steam wand, a 12 oz pitcher, and a scale. The scale is not snobbery; it stops you from guessing dose when the milk volume already fills most of the cup.
If you are shopping accessories, a spouted pitcher from the espresso accessories collection makes the pour easier than a saucepan. Fresh beans matter more than a second frother gadget—pick a roast you already enjoy as espresso. Specialty training culture from the SCA education hub keeps pointing back to repeatable espresso before fancy milk tricks—that is the right order at home too.
How do you make a latte step by step?
Pull espresso, steam microfoam milk, pour to integrate.
Use a double shot into an 8–12 oz cup, steam about 6–8 oz cold milk to glossy texture, then pour in stages so coffee and milk combine.
Step path: (1) Dose and tamp; aim for a familiar yield you already like as espresso. (2) Start steaming as soon as the shot finishes if your machine allows simultaneous steam—latte milk should not wait on a cold shot. (3) Stretch briefly for microfoam, then texture with a whirlpool until the pitcher side is hot but holdable. (4) Tap out big bubbles, swirl until the surface looks like wet paint. (5) Pour into the center to mix, then lower the pitcher if you want a simple pattern. Keep syrup out of the pitcher until you can make a plain latte you enjoy; sugar changes how foam behaves. For caffeine context across multiple morning cups, read the FDA caffeine update.
Texture and taste checkpoints
Microfoam should look shiny, not foamy like dish soap. The first sip should taste sweet dairy and espresso together, not a coffee shot followed by hot milk.
If the drink tastes scorched, you overheated the milk. If it tastes watery, your espresso yield ran long or you used too much milk for the cup. If foam sits as a dry raft, you stretched too long for a latte—save that move for cappuccino. Trade pieces like Perfect Daily Grind’s milk tag collect ongoing milk-quality discussions you can skim for ideas, not as gospel for your carton.
Common latte failures and fixes
Separated layers mean you poured foam that never mixed. Fix the pitcher swirl first, then pour taller for the first ounce. Big bubbles mean the tip stayed too high too long. Fix tip depth. Weak coffee in a huge mug means you are making cafe latte volume without cafe espresso strength—downsize the cup or add a second shot only after you check grind and yield. Burnt oat milk usually means temperature ran past your dairy comfort zone; stop earlier. See oat and plant milk steaming for carton-specific habits.
No espresso machine? Bridge methods that still teach the ratio
Many searchers need a path before they own a machine. You can still practice the 1:3 idea with concentrated coffee.
Brew a strong base with a moka pot, AeroPress with a fine grind and short ratio, or a very concentrated drip batch. Heat milk separately and froth with a handheld whisk or jar shake, then combine. The crema will not match espresso, and the body will be different—say that out loud so you do not judge the drink by the wrong standard. Use this bridge to learn milk texture and cup balance. When you want true espresso crema and dry steam control, move to a proper machine workflow rather than forever upgrading frothers. For coffee composition curiosity while you bridge, Coffee & Health and Harvard’s coffee feature are readable overviews.

Dairy vs oat adjustments for lattes
Whole milk remains the teaching milk because microfoam windows are wider. Barista oat can pour beautifully with less stretch and slightly cooler finishing temperature. Thin almond milks often need acceptance of flatter foam or a different brand. Always start cold. Look up carton nutrition on USDA FoodData Central when you are comparing calories across milk types for the FAQ numbers people ask about.
How Meraki dual-boiler and scales help the pour
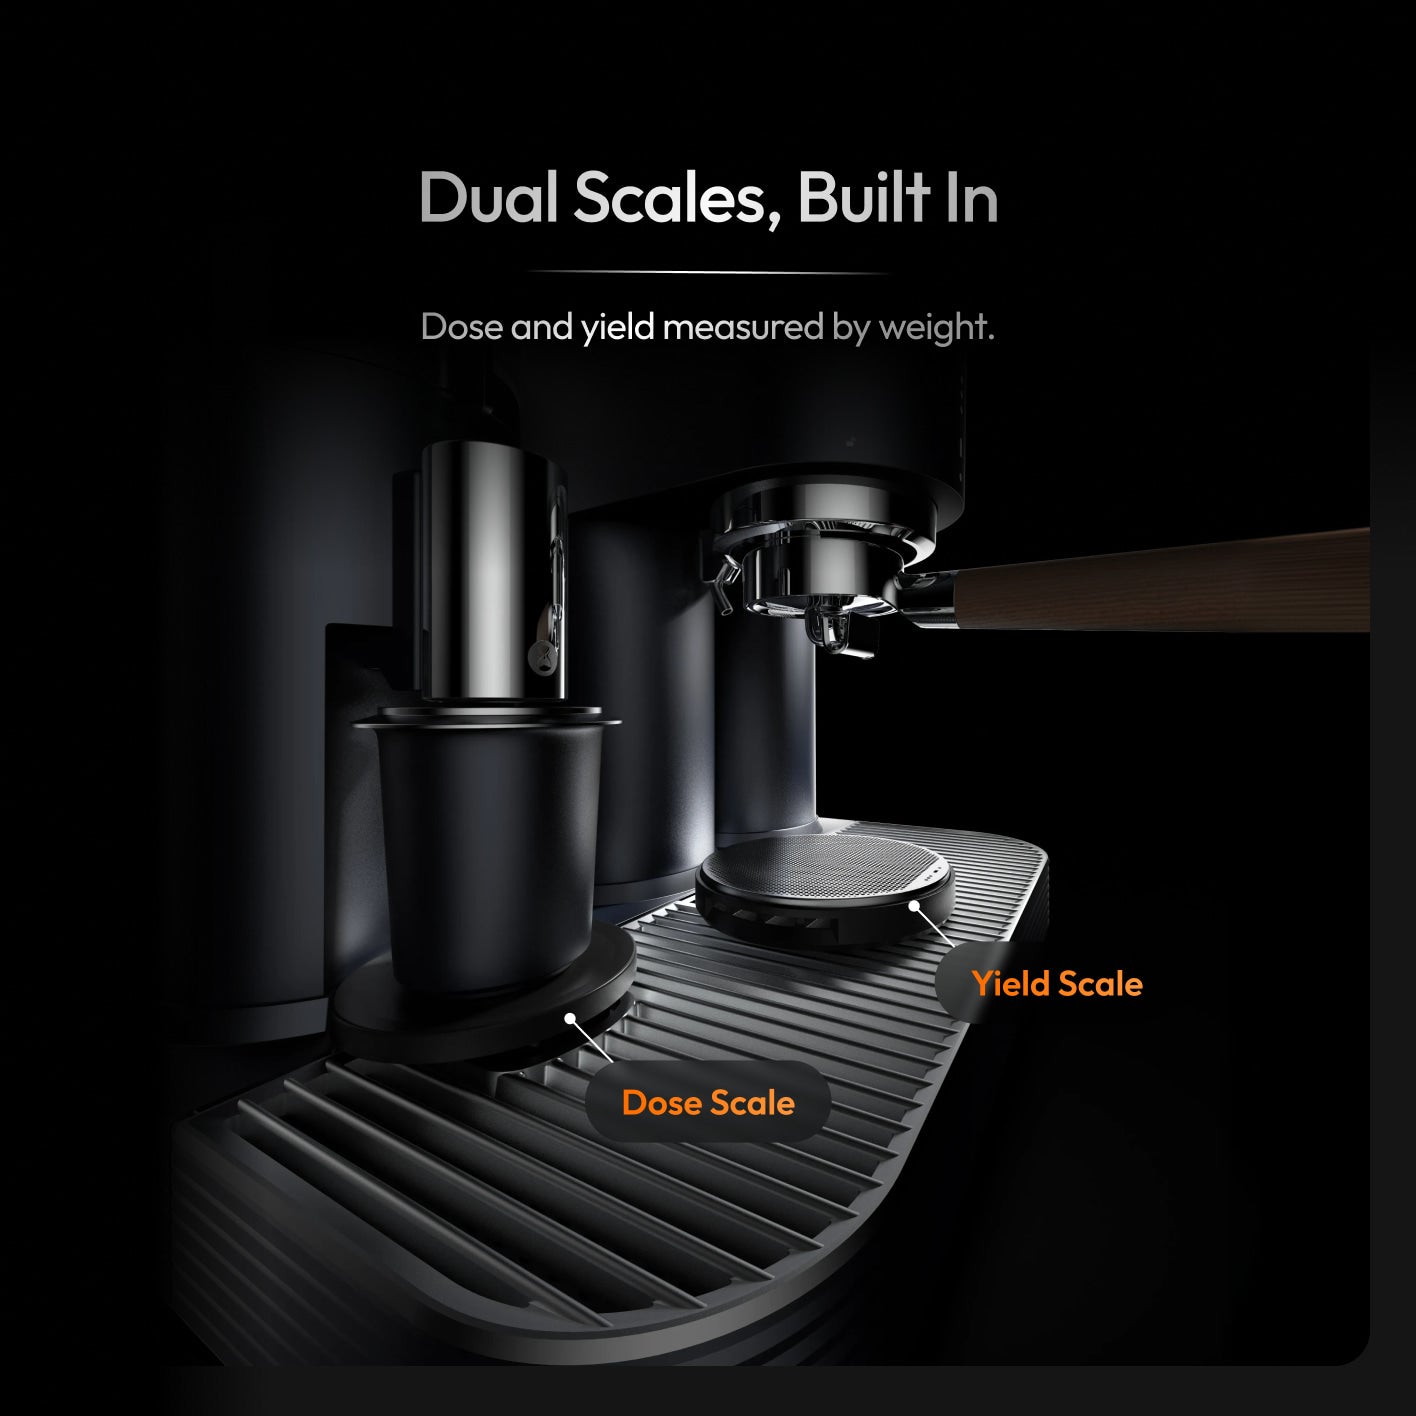
A latte rewards simultaneous brew and steam: the shot stays hot while milk textures. Dual boilers support that. Built-in dual scales make dose and yield visible so your 1:3 milk ratio is not fighting a random espresso. Dry steam helps you texture without watering the milk down into a gray cup. None of that replaces practice—it removes equipment excuses. See the Meraki espresso machine when you are evaluating that path.
Cleanup and next-shot readiness
Wipe and purge the wand, rinse the pitcher, and clear the portafilter before the next drink. Latte milk residues taste stale faster than you expect. Keep a towel only for the wand, not for counters and wands interchangeably. Independent references such as Coffee Review’s coffee reference remain useful background reading between practice sessions.
Want this drink cold instead?
Do not cool a hot latte with a handful of ice and call it done—dilution will punish you. Use measured espresso, cold milk, and ice from Meraki’s how to make an iced latte at home guide, and add cold foam only if you want a topping layer.
Parameters table
Phone-friendly starting points for a standard hot latte.
| Parameter | Starting point | Reader meaning |
|---|---|---|
| Cup size | 8–12 oz | Larger than cappuccino on purpose |
| Espresso | Double shot | Fix before adding syrup |
| Cold milk | ~6–8 oz (180–240 ml) | About 1:3 with espresso volume |
| Milk temp | 140–150°F / 60–65°C | Sweet, not cooked |
| Foam | Thin microfoam | Pourable, not a dry cap |
Conclusion
Make the latte about integration: steady espresso, glossy milk, and a pour that mixes them. Use bridge methods only while you learn ratios; graduate to a steam wand when you care about repeatable microfoam. If ice is the goal, switch to the iced recipe instead of melting a hot cup.
Explore the Meraki espresso machine for guided grind-brew-steam lattes, or browse more drinks in coffee recipes.
FAQ
What is the ratio of coffee to milk in a latte?
A practical home starting point is about 1:3 espresso to steamed milk by volume in an 8–12 oz cup. That means a double espresso with several ounces of microfoam milk, not a foam-heavy cappuccino. Adjust milk down if the drink tastes weak, and keep the espresso recipe steady while you tune.
How many calories are in a homemade latte?
Calories depend mainly on milk type and syrups, not on the espresso. A latte made with whole milk has more fat calories than one made with skim or unsweetened almond milk. Check your milk carton and any flavored syrups; USDA FoodData Central is a reliable place to look up dairy baselines.
How do you make a latte if the pour keeps separating?
Steam to glossy microfoam, then tap and swirl until the pitcher looks uniform before you pour. Start the pour to mix espresso and milk, and only lower the pitcher for art once the cup is partially filled. Separated foam usually means under-mixing, not a bad bean.
Can I make a latte without an espresso machine?
Yes, as a bridge: brew concentrated coffee with a moka pot, AeroPress, or very strong drip, then froth heated milk with a handheld frother or jar. Keep about a 1:3 coffee-to-milk ratio. You will not get true espresso crema, but the drink can still taste creamy and balanced.
Can I turn this method into an iced latte?
Use cold milk and ice instead of steamed milk, and keep espresso (or concentrate) strong so melt does not wash it out. For measured espresso, milk, and ice ratios, follow our iced latte recipe rather than cooling a hot latte.
More on this topic: Latte & Milk Coffee Recipes.


