


You already poured the iced coffee. Now you want that soft white cloud on top—without driving to a cafe or buying a counter full of gadgets. Learning how to make cold foam at home comes down to three decisions: which liquid you start with, how much air you whip in, and when you stop so the foam stays spoonable instead of turning into whipped cream.
Use this page as a decision path with real ratios: jar, frother, and brief wand options, plus sweet-cream and flavor twists for iced drinks.
What does “how to make cold foam” mean at home?
Cold foam is aerated cold dairy (or barista oat) for iced drinks.
You whip fridge-cold milk until it thickens into a pourable cloud, then spoon it over iced coffee or an iced latte—without heating the milk into hot microfoam.
At home, cold foaming is a small-batch skill. Start with 2–3 oz (60–90 ml) so the jar can build density; larger volumes often stay thin. Target soft peaks that still pour. Pair with a strong iced base so melt does not wash the topping out. For dairy nutrition baselines, look up milk and cream in USDA FoodData Central.
Which gear do you actually need?
A jar is enough; a frother or wand is optional.
If you have a sealed mason jar and fridge-cold milk, you can finish cold foam in under a minute. A handheld frother or steam wand only adds speed and finer bubbles.
Build a tiny checklist before you open the fridge. You need a cold liquid (whole milk, half-and-half mix, or barista oat), a vessel that can trap air (jar, French press, or pitcher), and a way to move air through the liquid (shake, plunge, whisk, or a brief wand burst). A kitchen scale helps you repeat the same starting volume—useful when you are also pulling espresso for the drink underneath. Browse espresso accessories if you want a pitcher you already use for hot drinks; you do not need a dedicated cold-foam machine. Keep everything cold: warm milk stretches into hot foam and loses the iced-drink contrast you came for.
How do you make cold foam step by step?
Chill milk, aerate 20–40 seconds, stop at soft peaks.
Measure 60–90 ml cold milk, introduce air until the volume roughly doubles and the texture looks glossy, then spoon onto ice immediately.
Jar method: fill a mason jar no more than one-third full, seal, and shake hard for 20–40 seconds. Open, check for soft peaks, and spoon. Handheld frother: tip submerged just under the surface for 15–30 seconds; raise and lower slightly to fold air in without splashing. French press: short plunges for 20–30 seconds. Steam-wand cold aeration (advanced): purge the wand, keep the tip shallow for a few seconds only, and stop before the pitcher warms in your hand—you are aerating, not steaming a latte. For broader coffee-preparation context, the Specialty Coffee Association education hub is a useful industry reference, even though cold foam itself is a cafe-menu technique rather than a formal SCA standard.
How do you know the texture is right?
Soft peaks that still pour are the target.
The foam should mound on a spoon, then slowly slide—thicker than milk, looser than whipped cream. If it stands in stiff peaks, you over-whipped.
Taste checkpoints matter as much as looks. Plain whole-milk foam should taste clean, not cooked, and sit as a distinct layer for a few minutes. Large soapy bubbles mean aggressive aeration or warm milk; foam that vanishes quickly means under-aeration or thin plant milk. Adjust one variable next time.
What usually goes wrong with cold foam?
Warm milk and oversized batches cause most failures.
When foam collapses, thins into bubbles, or tastes bland, check temperature and starting volume before you blame the tool.
Common fixes: re-chill the milk; reduce to 60 ml; froth in short bursts; add a splash of half-and-half if whole milk stays thin; switch to barista oat if regular oat will not hold air. Do not whip until butter. Discard milk that smells off. For plant-milk habits that also help cold aeration choices, see Meraki’s guide on how to steam oat milk and plant milks.
How should dairy and oat milks change your recipe?
Whole milk is easiest; barista oat needs a shorter whip.
Start with whole dairy for learning. Half-and-half mixes thicken faster. Barista oat can work, but stop earlier so it does not go grainy.
Whole milk gives a forgiving window between thin foam and whipped cream. Two-percent works with a slightly longer whip. Skim foams fast but collapses sooner. For oat, choose a barista formulation designed for foam; shake 15–25 seconds and evaluate early. Almond and thin plant milks often need a spoon of cream or a commercial foam enhancer if you insist on height—otherwise accept a thinner topping. Always keep the liquid fridge-cold. Roast and bean choice for the iced base still matter; the National Coffee Association roast guide is a clear primer if you are matching foam sweetness to a darker or lighter iced coffee.
Sweet cream cold foam and quick flavor twists
Cafe-style sweet cream starts with richer dairy plus a little syrup. That is the topping people mean when they ask for vanilla cold foam on iced coffee—not plain milk whipped forever.
Sweet-cream base (one topping): combine about 2 tbsp (30 ml) heavy cream, 1 tbsp (15 ml) milk, and 1 tbsp (15 ml) vanilla syrup. Froth or jar-shake 20–35 seconds until soft and pourable. Spoon over cold brew, iced espresso, or an iced latte. Flavor twists without rewriting the whole method: swap vanilla for caramel or mocha syrup at the same teaspoon range; add a pinch of cocoa for mocha foam; use maple syrup for a breakfast-leaning version. Keep sweetener light so the foam stays spoonable—too much sugar syrup can thin the structure. For pairing ratios under the foam, use Meraki’s iced latte at home guide so the espresso and ice are measured, not guessed.
Keep the control point technical: small batch, cold liquid, soft peaks—a repeatable topping, not a chain menu clone.

When does a dual-boiler machine help cold drinks?
A dual-boiler setup helps when the drink under the foam is espresso-based. You can pull a measured shot while milk stays cold for foaming, then assemble over ice without waiting for a single boiler to recover.
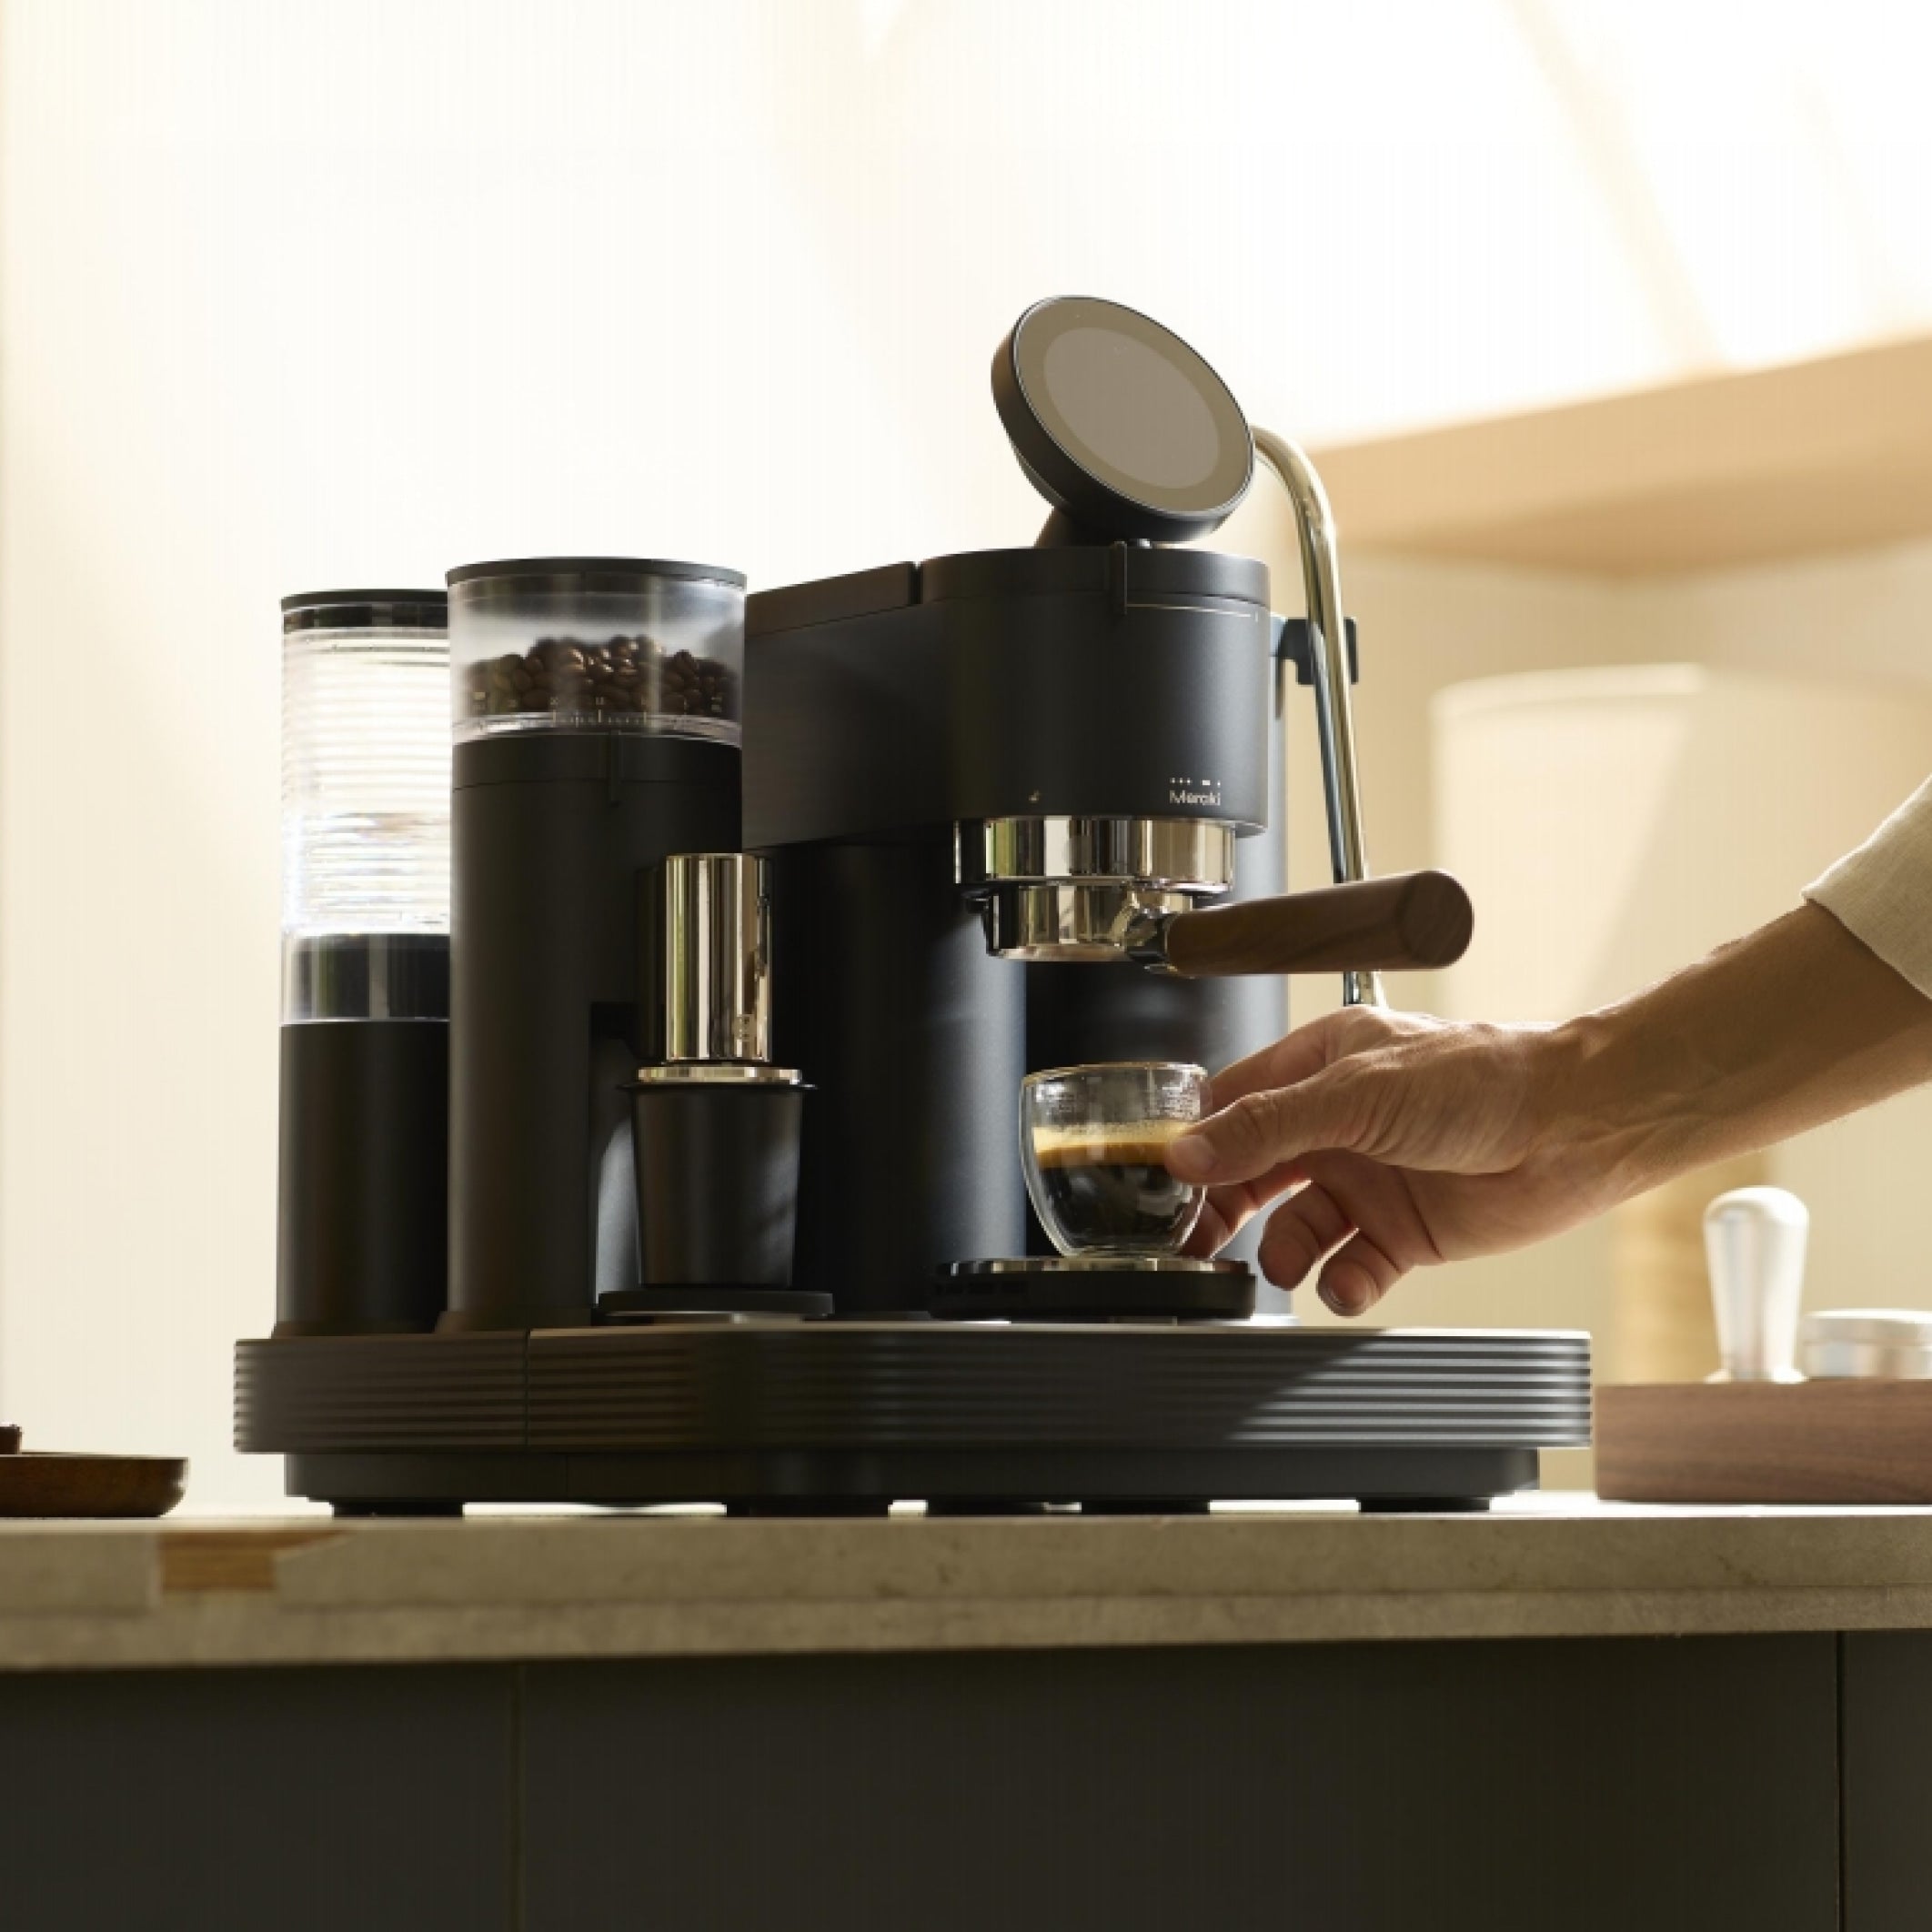
Built-in scales keep dose and yield strong enough for melting ice. For cold foam, treat the wand as an optional brief aerator. If you want that grind-brew-steam sequence in one place, see the Meraki espresso machine and more ideas in coffee recipes. For caffeine load context when iced drinks stack up, skim Coffee & Health’s overview.
Cleanup and next-drink readiness
Rinse tools immediately so milk proteins do not dry into a film. Wipe and purge a steam wand after any aeration, and wash jar lids so residual fat does not go rancid. For caffeine context, see the FDA caffeine consumer update and Harvard T.H. Chan caffeine overview—not medical advice for your personal limit.
Cold foam parameters at a glance
Use this table when you want a phone-friendly reminder instead of re-reading the steps. Values are home starting points, not cafe lab absolutes.
| Variable | Starting point | What it means for you |
|---|---|---|
| Liquid volume | 60–90 ml (2–3 oz) | Small batches thicken; large jugs stay thin |
| Milk choice | Whole dairy first | Widest success window for beginners |
| Sweet cream mix | ~30 ml cream + 15 ml milk + syrup | Thicker, dessert-like topping |
| Aeration time | 20–40 seconds | Stop at soft, pourable peaks |
| Temperature | Fridge-cold | Warm milk becomes hot foam |
| Shelf life | Same day refrigerated | Re-whisk; discard if sour |
Conclusion
If you only remember one path: chill a small amount of whole milk, aerate until soft peaks, and spoon it over a strong iced coffee or iced latte. Move to sweet cream when you want a cafe-style vanilla topping, and keep flavor syrups light so the foam still holds. Gear is optional; temperature and batch size are not.
Ready to build the espresso side of the iced drink with measured dose and yield? See the Meraki espresso machine and explore more recipes in Meraki coffee recipes.
FAQ
How long does cold foam last?
Plain cold foam is best within about 30–60 minutes on a drink, and the same day if you refrigerate leftovers in a covered jar. Texture thins as bubbles collapse. Re-whisk briefly before using, and discard milk that smells sour or has sat warm.
Can you turn whole milk into cold foam?
Yes. Whole milk is the easiest dairy choice because fat and protein help trap air. Use 2–3 oz (60–90 ml) fridge-cold milk and whip until soft peaks form. Skim milk can foam, but it usually collapses faster and tastes thinner on iced coffee.
Can I make cold foam without a frother?
Yes. A sealed mason jar works: add cold milk, shake 20–40 seconds, then spoon the foam onto your drink. A French press plunger can also aerate cold milk with short pumps. Keep the volume small so you build thickness instead of a large jug of bubbles.
What is sweet cream cold foam?
Sweet cream cold foam is cold-aerated dairy—often half-and-half or cream mixed with a little milk—lightly sweetened with vanilla or simple syrup. It is thicker and dessert-like compared with plain milk cold foam, and it is the base behind many cafe iced-coffee toppings.
Can I make vanilla cold foam at home?
Yes. Mix fridge-cold milk or half-and-half with 1–2 teaspoons vanilla syrup per 60–90 ml liquid, then jar-shake or froth 20–35 seconds. Keep the batch small so the foam thickens instead of turning into a large jug of bubbles.
More on this topic: Iced & Cold Coffee Recipes.


