


A commercial-style steam wand at home can feel like a promotion and a hazard in the same week: milk scorches before you find the roll, a tiny pitcher volcanoes, and the drink tastes cooked instead of sweet. Espresso machine with powerful steam wand home technique is less about buying “more power” and more about matching pitcher size, stretch timing, and stop cues to steam that arrives fast.
This Meraki guide owns technique safety for powerful / commercial-style steam at home — scorch risk, pitcher size vs power, stretch-then-roll timing, common mistakes, and a week-one practice plan. It is not a rewrite of Meraki’s steam wand buyer guide for milk drinks, the first how to steam and texture milk tutorial, microfoam or latte-art pours lessons, too-hot diagnostics, weak-wand fixes, steam power vs control for one small latte, 2-/3-/4-hole tip comparisons, or pitcher-size matching. Those pages keep their jobs; this one is for owners who already have (or are about to have) strong steam and need to use it safely on a weekday.
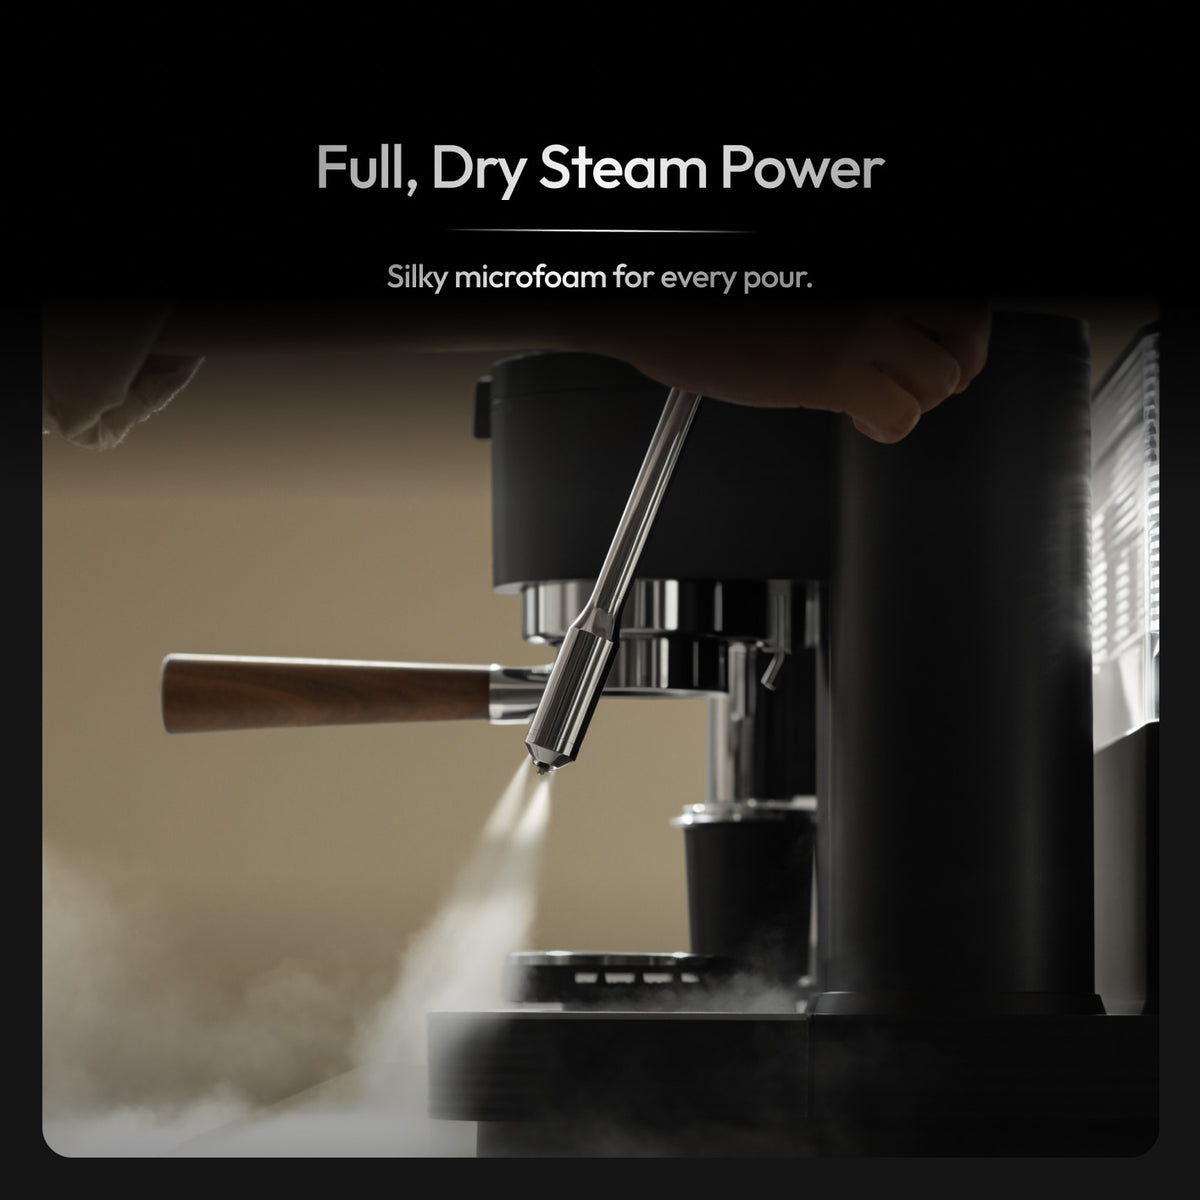
Powerful dry steam rewards short stretch, early roll, and a pitcher sized for the drink — not full-valve bravado.
What “espresso machine with powerful steam wand home technique” really means for home buyers
“Espresso machine with powerful steam wand home technique” in search often lands on best-of steam-wand buyer lists, affiliate roundups, and “machines that froth like a café” marketing. For a home buyer it means something narrower: a safe hand sequence when steam arrives commercial-fast — so milk sweetens instead of scorches, volume matches the cup, and you stay in control of stretch and roll.
Powerful steam is not a personality upgrade. It shortens the window between “still cold and thin” and “already too hot.” Technique safety is how you spend that shorter window: smaller milk fills for small drinks, tip depth that stretches briefly then rolls, ears and fingertips as stop sensors, and a purge-wipe habit that protects the next drink.
Treat the keyword as risk management + muscle memory first. Meraki’s steam-wand milk-drinks guide owns which wand traits matter when shopping. The first steam-and-texture tutorial owns generic stretch/roll literacy. This page owns using strong steam without burning the milk or yourself.
Who this page is for (and who should skip it)
This page is for latte beginners and home baristas whose wand already feels “too strong,” who upgraded from a weak frother, or who are about to use a dual-boiler professional steam wand and want week-one safety habits — not another shopping list.
Skip it if you are still choosing a machine for milk drinks — start with which espresso machine with a steam wand makes the best milk drinks at home. Skip a first-principles steam tutorial — that is how to steam and texture milk. Skip microfoam polish and the first three latte-art pours — use master microfoam and latte art for beginners. Skip “always too hot” diagnosis — steaming milk too hot. Skip “wand feels weak” — steam wand too weak. Skip tip-hole shopping and one-small-latte power-vs-control debates — 2-hole vs 3-hole vs 4-hole and steam power vs control. Skip pitcher catalog math alone — milk pitcher sizes. Light overlap with brew-and-steam simultaneous workflow belongs to that weekday sequence page — do not rewrite it here; come here when powerful-wand safety is the open question.
Why this is technique safety (not a steam-wand buyer guide)
SERP for this query leans toward “best espresso machine with steam wand” listicles and steamer roundups. Those pages sell hardware. Editorial pages that teach how to handle commercial-style steam without scorching are thinner — and that is the gap this article fills.
The unique job here is technique safety: match pitcher size to steam power, keep stretch short, find the roll early, stop before the milk cooks, fix week-one mistakes fast, and practice for seven days until strong steam feels calm. Disclosure: Meraki publishes this guide and sells the Meraki Espresso Machine. Live product story (2026-10-26 snapshot): dual boilers that brew and steam at once, a powerful dry steam wand with auto temp stop framing for preferred milk temperature, and a professional steam path in the guided grind → brew → steam → serve workflow. Meraki examples illustrate one verified strong-steam path — always confirm prompts and stop behavior on your machine’s screen and manual. We will not invent steam PSI, tip-hole counts, or laboratory temperature setpoints the live product page does not state.
Tools and settings to prepare first
Powerful steam fails safely only when the station is staged before the valve opens. While dual boilers warm (Meraki’s FAQ framing is about 3–4 minutes — re-check the live product page), set out a dry stainless pitcher sized for today’s drink, cold milk from the fridge, a damp cloth for the wand, cups ready, and a clear landing zone so you are not juggling toast while steam is live.
Pitcher size is a safety tool, not décor. A too-small fill under strong steam races to heat and foam; a too-large fill for one flat white makes you chase volume and overheat. Meraki’s gift framing includes a 14 oz milk pitcher with the upgrader kit on current offers — treat that as a practical home size for many single milk drinks, then use Meraki’s pitcher-size guide when you need two drinks or a different cup math. Fill to a familiar weekday line with room to stretch — never to the brim.
Hygiene is non-negotiable with hot milk systems. Purge water from the tip before and after every drink, wipe the wand immediately, and deep-clean on Meraki’s steam wand hygiene schedule. Food-handling literacy from FDA safe food handling and CDC food-safety prevention is the boring reminder: keep cold milk cold until steaming, and do not leave milk sitting warm on the counter “for the next guest.” Category technique context from the Specialty Coffee Association and CoffeeGeek’s guides beats any viral tip that skips a clean tip.
If your machine offers milk-temperature sensing or auto temp stop (Meraki markets Powerful Dry Steam. Auto Temp Stop), treat it as a safety net after you learn pitcher cues — not as permission to ignore heat on your palm.
Step-by-step workflow: powerful steam wand technique at home
The weekday win is controlled power: short stretch, early whirlpool, honest stop. Use this order until it feels boring.
- Warm fully, then purge. Wait for steam-side ready. Open the wand briefly into the drip tray to clear condensed water — wet steam at the start is how you get big bubbles before texture even starts.
- Choose pitcher and fill for this drink. One small latte or flat white wants a modest fill in a pitcher that leaves stretch room. Do not “practice power” with a half-empty café pitcher under a commercial-style tip.
- Seat the tip just under the surface, slightly off-center. Tip too deep at full power buries stretch and cooks the bottom; tip too shallow sprays. Start with the tip kissing the surface so you hear a soft paper-tearing stretch — not a scream.
- Stretch briefly, then drop into the roll. Strong steam needs less stretch time than a weak wand. As soon as volume has risen a little and the sound softens, lower the pitcher (or raise the tip slightly deeper) so the tip stays submerged and the milk spins as a whirlpool. That roll polishes foam into glossy microfoam.
- Watch heat with your hand, not a stopwatch fantasy. Keep a free hand on the pitcher side. When it moves from cold → warm → hot-to-hold, you are near drinkable heat for most homes. Stop before it is painfully hot or smells cooked. If auto temp stop is available, still learn the hand cue for days you steam without it.
- Close steam, wipe, purge. Immediately wipe the tip with the damp cloth, then purge again so milk does not bake inside the tip. Powerful wands punish skipped hygiene on the next drink.
- Settle, swirl, pour. Tap out large bubbles, swirl to gloss, pour into espresso. Latte-art shapes wait for the first three pours once texture is safe and repeatable.
- Thirty-second reset. Empty leftover milk (do not reheat yesterday’s pitcher), rinse the pitcher, clear the cloth. Tomorrow’s calm steam starts with today’s reset.
If you are also overlapping brew and steam on a dual boiler, keep this wand sequence inside Meraki’s simultaneous weekday workflow — do not invent a second choreography here. Tip-hole behavior (2 vs 3 vs 4) changes how aggressive the jet feels; when you need that hardware literacy, open the tip comparison instead of guessing hole counts for Meraki in this article.
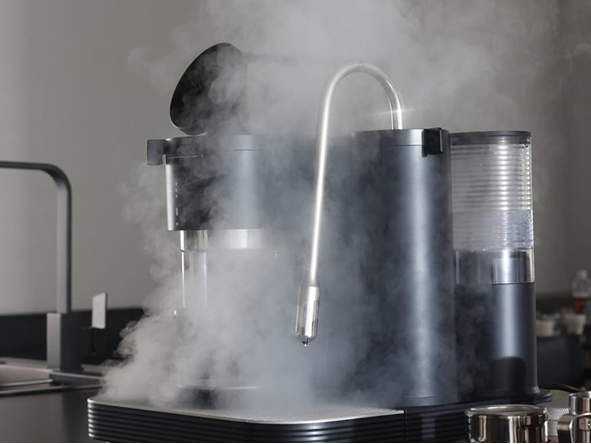
Glossy paint-like milk is the target — dry steam power gets you there only when stretch is short and the stop comes before scorch.
Targets and ranges that keep you out of rabbit holes
Targets exist so breakfast does not become a lab. Prefer one weekday milk drink, one pitcher fill line, and sensory stop cues — not invented PSI charts or forum temperature commandments.
Use ranges, not fake precision. Cold milk from the fridge, a brief stretch, a visible whirlpool, and a stop when the pitcher is hot to hold but not burning. Meraki’s product framing emphasizes powerful dry steam and auto temp stop toward a preferred milk temperature — verify how that stop behaves on your unit rather than copying a stranger’s favorite degrees into this page. We will not publish invented steam-boiler bar ratings or exact tip-hole counts that the live specs table does not list.
Drink ratios stay menu language, not steam physics. Meraki’s café menu framing lists guided milk ratios such as latte about 1:3, cappuccino about 1:2, and flat white about 1:2 with microfoam — useful starting menus on Meraki, not universal laws. Lock one weekday recipe for the practice week. Independent brewing literacy from NCA brewing basics and SCA research helps separate taste goals from gear myths.
Pitcher size vs steam power (decision table)
| Situation | Safer default | Risk if ignored |
|---|---|---|
| Strong wand + one small latte | Smaller fill / appropriately sized pitcher | Milk hits scorch before you find the roll |
| Strong wand + two drinks | Larger pitcher or two sequential steams | Overfilled pitcher; uneven texture; long heat soak |
| Learning week | Same fill line every morning | No baseline; every drink is a new experiment |
| Weak-wand habit on a strong wand | Shorter stretch than you used before | Big dry foam, then sudden cooked milk |
| Auto temp stop available | Still learn hand cues | Blind trust on a day the sensor is off / ignored |
For tip selection debates and one-drink control nuance, link out — do not re-argue them here.
Common mistakes and quick fixes
Most “this wand is too aggressive” complaints are technique mismatches, not broken boilers.
| Mistake | What you feel | Quick fix |
|---|---|---|
| Stretching as long as a weak wand needed | Huge dry foam, then sudden heat | Cut stretch short; drop into roll earlier |
| Tiny milk volume under full power | Scorched smell; stiff foam | Bigger fill or smaller drink target; match pitcher |
| Tip buried deep from the start | No stretch sound; cooked bottom | Start at the surface; then submerge for the whirlpool |
| Tip too high / spraying | Messy counter; big bubbles | Lower pitcher until the tip seals under the surface |
| Skipping purge | Watery first second; odd foam | Purge before and after every drink |
| Skipping wipe | Clogged tip; sour milk smell next round | Wipe immediately; follow hygiene guide |
| Chasing latte art on day one | Burned milk under a pretty pour | Lock texture safety for a week first |
| Reheating leftover milk | Flat, sweetless cup | Fresh cold milk only |
| Blaming power when wand is weak/clogged | Soft steam, long wait | Use weak-wand fixes — different page |
| Always too hot after “perfect” texture | Cooked taste despite gloss | Too-hot diagnostics; stop earlier |
If steam truly lacks power after purge and ready lights, leave this technique page — hardware diagnosis lives elsewhere.
How to taste and decide what to change next
On a technique-safety week, taste answers one question first: did the milk stay sweet? Scorched milk smells cooked and tastes flat under espresso. Big dry foam that sits like a hat usually means stretch ran too long for the power you have. Glossy paint that still pours poorly may need a longer swirl, not more heat.
Change one variable after the sequence is automatic: stretch length, tip depth, fill line, or stop timing — not all four. If espresso tastes wrong under good milk, fix grind/dose/yield on Meraki’s brewing hubs; do not open the steam valve harder. If milk is fine but the drink is lukewarm, you may be hesitating between brew and steam — that is simultaneous workflow timing, not a reason to invent higher steam pressure.
Keep a three-line note: date, fill line, one taste word (sweet / scorched / foamy / glossy). That beats a spreadsheet in week one. Press context on measured home espresso appears in places like Barista Magazine; still judge your pitcher, not a reviewer’s photo.
A one-week practice or habit plan
A week installs powerful-wand muscle memory without turning coffee into homework. Keep the same beans, the same drink, and the same pitcher fill line.
- Day 1 — Safety only. Purge → short stretch → early roll → hand-stop → wipe/purge. Ignore latte art. Goal: no scorched smell.
- Day 2 — Same fill line. Identical milk volume. Listen for stretch sound vs roll silence. Goal: two mornings without spray or volcano.
- Day 3 — Pitcher vs power drill. On purpose, steam a slightly smaller fill once (safely, with attention), notice how fast heat arrives — then return to your weekday fill. Train why size matches power.
- Day 4 — Auto stop vs hand cue (if available). Run one drink with Meraki’s auto temp stop framing if present, one with hand cue only (small volume). Learn both; do not abandon either.
- Day 5 — Guest pace. Make the drink without narrating steps. Keep wipe/purge sacred.
- Day 6–7 — Lock and lighten. Keep the same sequence. Cut “one more second of stretch.” Optional: one calm pour practice after texture is already good — art pages can wait until safety is boring.
Do not “save time” by skipping warm-up and blaming the wand for watery steam — home espresso energy use is usually modest next to beans (energy.gov).
When to stop tweaking and just drink
Stop tweaking when purge is automatic, stretch is short, the roll appears on cue, and the pitcher stops before cooked aromas. Powerful steam is a speed tool, not a homework assignment to visit every tip angle.
One drink for weeks? Protect the fill line and stop habit; re-check when you change pitcher size or milk type. Plant milks and specialty textures belong on Meraki’s steaming skill pages — do not invent a second safety curriculum here. When you want shopping criteria again, return to the steam wand milk-drinks guide. When you want first-principles texture or latte art, open those brewing hubs instead of rebuilding them under a “powerful wand” headline.
FAQ
Is a powerful steam wand unsafe for beginners? Not if pitcher size, short stretch, and early stop habits come first. Strong steam shortens the learning window; it does not require café employment. Start with one weekday drink, a matched fill line, and wipe/purge every time. Use Meraki’s first steam tutorial for basic stretch/roll literacy, then return here for power-specific safety.
Why does my milk scorch so fast on a strong wand? Because heat arrives sooner than on a weak frother. Common causes: stretch that lasts too long, too little milk in the pitcher, tip buried deep from the start, or stopping only when the pitcher is already painful. Shorten stretch, match fill to drink size, and stop on warm-to-hot hand cues. Persistent “always too hot” after good texture belongs on the too-hot diagnostics page.
What pitcher size should I use with commercial-style steam at home? Match pitcher and fill to the drink, not to café theater. A modest single latte or flat white wants room to stretch without a cavern of empty metal. Meraki’s current gift framing includes a 14 oz pitcher with the upgrader kit — a practical home starting size for many one-drink mornings. Use the pitcher-size guide when you change cup volume or make two drinks.
Should I use auto temp stop if my machine has it? Yes as a safety net — after you can feel pitcher heat. Meraki markets powerful dry steam with auto temp stop toward a preferred milk temperature; confirm behavior on your unit. Hand cues still matter for muscle memory and for days you steam without relying on the sensor.
Does this replace Meraki’s first steam or latte-art guides? No. This page is technique safety for powerful steam. First texture literacy, microfoam polish, and beginner pours stay on their own URLs. Weak-wand and too-hot diagnosis stay on theirs. Use this page when strength — not “how do I steam at all” — is the problem.
If you want café-style milk without scorched weekdays, start with a matched pitcher fill, a short stretch, and an honest stop — then explore the Meraki Espresso Machine dual-boiler powerful dry steam path when you are ready. Questions on setup or care: Meraki Support · +1 833 854 9555 (Mon–Fri 9 AM–5 PM EST).


